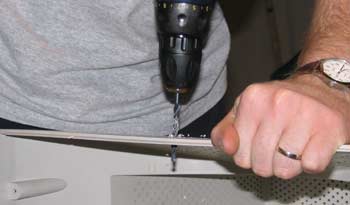
Drilling the starter hole for cutting a hole in the top of the monitor case... so we can feed the fish and change the water.
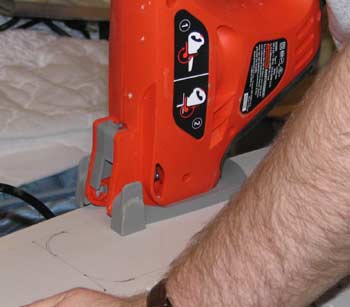
While actually cutting the hole in the top of the case, the plastic was fusing back together as I was cutting! So after I went around the hole once, I used a utility knife to poke holes along the melted plastic and was then able to snap the cut piece out of the hole. Rather funny to me.
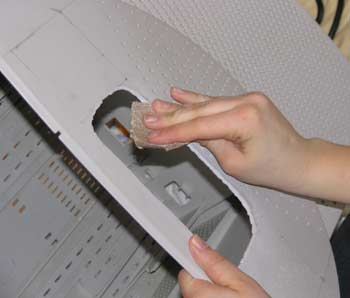
Since the plastic was fusing back together from the friction, we had to sand down the edges to get rid of the "bubbling up" effect of the fused plastic.

The next step was to get the tank outside and ready to be painted! We cut a few plastic scraps and glued them inside the case to create an edge for the cut-out piece to fit back in its hole as a lid. We also used trusty scotch tape to tape the front panel of the monitor in its "to-be" permanent place, so the paint job would match up.
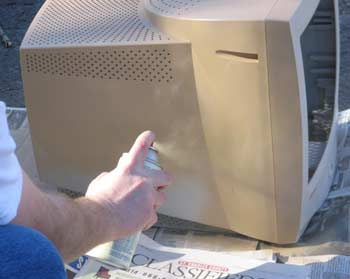
Painting at last! Here you can see the before color as we are adding the first coat of our tan base color.
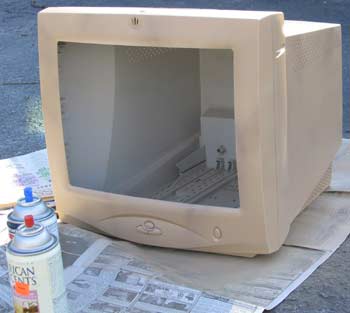
We finished our first attempt of creating a background of an old Treasure map. Using 2 shades of tan paint to give an older look.
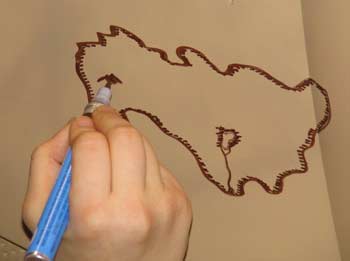
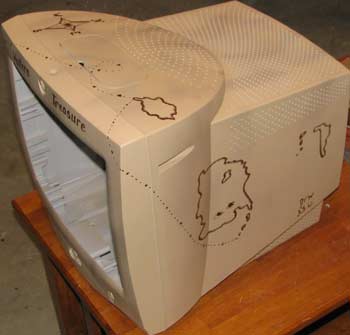
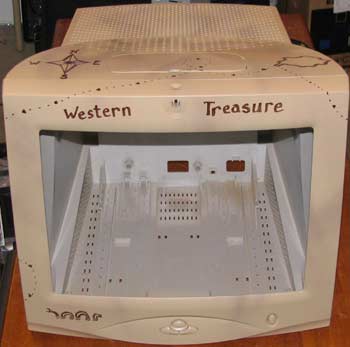
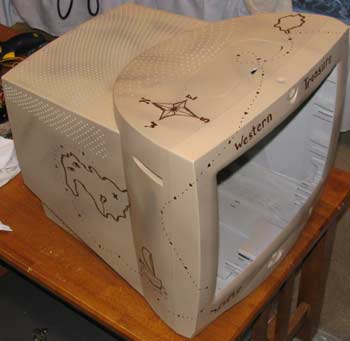
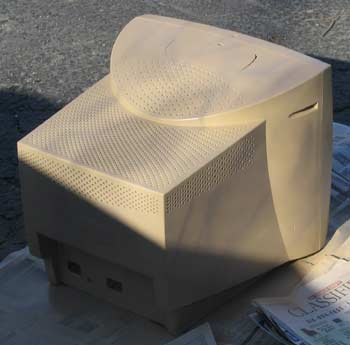
Here is a shot of the finished paint job without the bright outdoor sun. Next we will be using a dark brown paint marker to create the treasure map on our background.
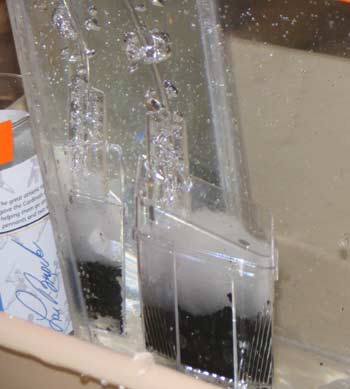
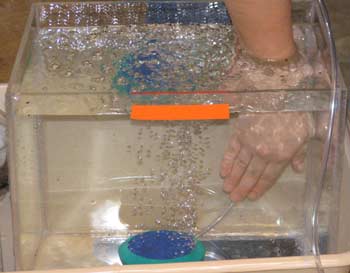
We also checked the tank for leaks and after a little over 24 hours, we are still leak free! So we decided to test out the filter and bubbledisk to see how they look and make sure we know how they operate.
It is possible that tonight we may go ahead and use the brown paint marker to make the treasure map. Then tomorrow, I'll spray a glossy clear coat over everything to protect it and give it that finishing shine!