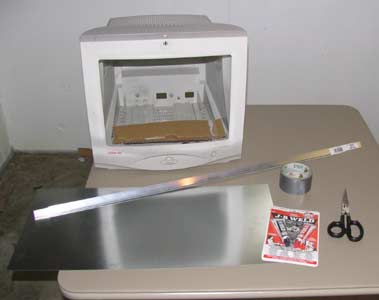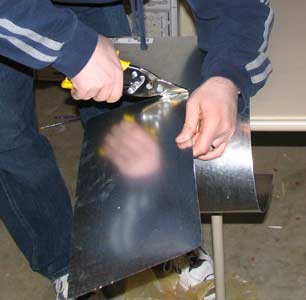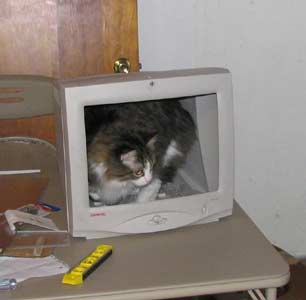
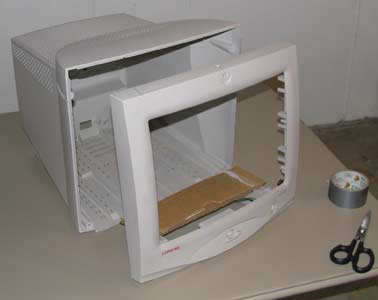
First, we just completely gutted the monitor... The fried tube, wires, microphone... all gone. The only exception is we left the power and menu buttons on the front as possible ways to turn on/off power to things such as lights, tank bubbles, or filter. We are not sure how that all is going to pan out.
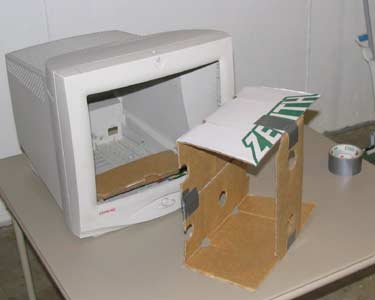
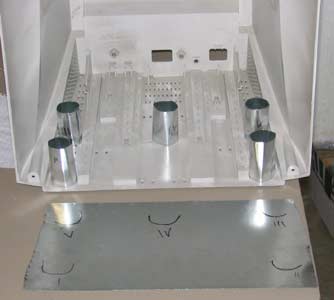
As planning for the fish tank size and making sure our measurments were correct, I made a model tank out of an old cardboard box that was almost empty and good ole duct tape! I also use some cardboard scrap to make a "more level" space for the cardboard sample tank to sit on inside the monitor shell.
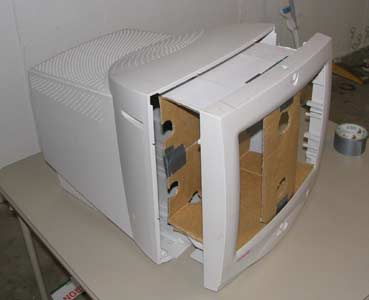
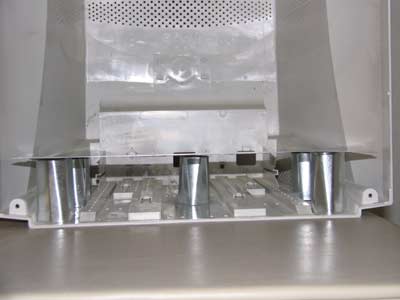
Here is the box tank sitting on the sample platform, getting ready to slide in the monitor shell. Will it fit?
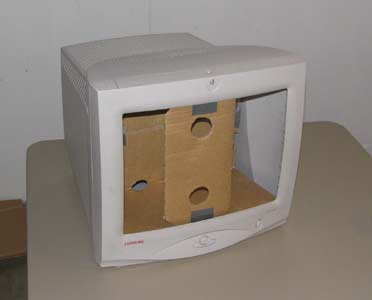
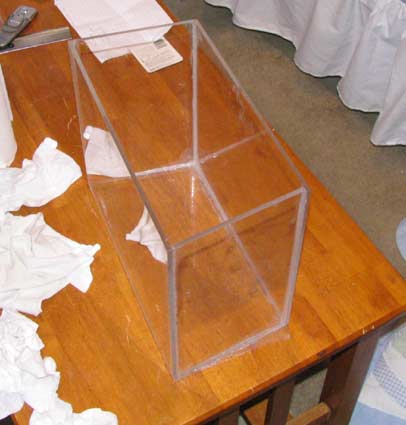
Success! It was a near perfect fit!
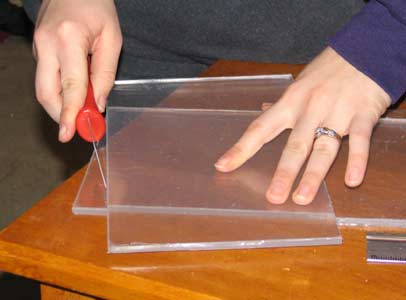
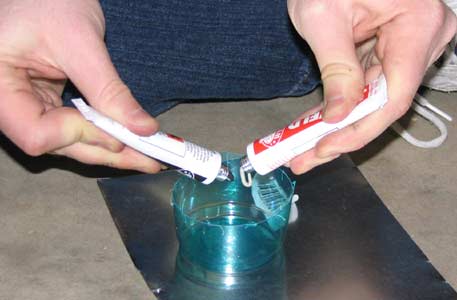
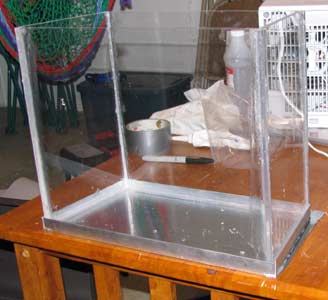
Next up is getting some clear acrylic which we will use to make our own custom fishtank! Will post more pics later as we make more progress.
Any comments or suggestions are welcome. We have been thinking about this project for the better part of 6 months now and are finally getting started on making some real progress!