Page 1 of 1

My 1st Mod ~ "Improvision"

Posted: Sun May 20, 2007 7:49 pm
by Indignity
A little background on why this started. I had a simple water-cooled setup with a single 120mm RAD cooling my CPU loop only. I was doing great on overclocking an e6300 to around 3.6GHz at the max. Then, my PSU went & I had to go through the RMA process. In waiting, I purchased another one to get me up & running. Newegg just discounted the $$ of the PSU and I moved forward. Well, I knew that the replacement PSU wasn't going to allow me to OC w/o any problems. I had to get a new PSU that was a bit "future-proof", so what could I do. I also wanted to step up to an e6600, so I went & put it on the damned card :eek: . I'm a little strapped for cash, but I had a really good CPU that I ended up trading for the Fortran 700W in my sig... Well, I put that all together, start my attempt to see how far I can take this CPU & whammo, my VGA goes..

During that whole mess, I learned that my single 120mm RAD with a 1500rpm fan wasn't going to be nearly enough to keep the CPU cool, so I had to do something. Then I started reading more & more. I had to come up with a different case, a larger RAD, a better block, ect.... I also was loving the various mod worklogs posted here. There are certainly some talented and creative individuals here! And here I am, ready to start on my first mod.
------------------------------------

My goals for the mod are:
  • Keep it simple! (I'm a newb without many tools)
  • Effectively cool the components to handle 4GHz!!!!!!!!!!
  • Keep the interior clean utilizing some of the various methods others have used in their logs
  • Keep down costs by using what I have.
  • Lastly, I would like to eventually be able to inspire another individual to do their own modding.
The main components for this project are as follows:
  • Intel Core2Duo e6600
  • ASUS P5N-E (650i)
  • Patriot (2 x 1GB) DDR2 800
  • FSP Group (Fortron) FX Series FX700-GLN-E 700W Power Supply
  • APEVIA X-Navigator ATXA8NW-AL Case
  • eVGA GeForce 7600GT 256MB GDDR3 PCIe
  • 4 x Seagate Barracuda(7200.10) SATA Drives totalling 1.25TB
  • AuzenTech XMYSTIQUE7.1 Sound Card
  • Innovatek Eheim HPPS Plus 12V WaterPump
  • Danger Den TDX CPU block w/flow changing thing-a-ma-bobs
  • Swiftech MCR320-QP (3x120mm) Radiator
  • Lite-On DVD-RW Drive
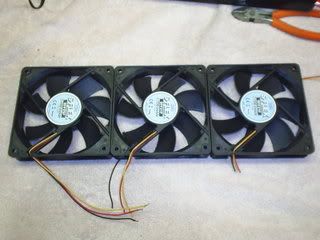
  • 3 x Scythe S-FLEX SFF21F 120mm Fans for the RAD
  • 4 x Rosewill RFA120L-W 120mm 4 White LEDs Fans for the case
  • I've got three possible Fan Controllers/Temp Monitors
  • iStarUSA BPU-230SATA Hot-Swappable SATA HDD Enclosure (3 Drives)
  • CoolIT SYSTEMS RAM FAN
  • Thermaltake CL-C0034 For the Northbridge Chipset
  • Old CPU Heatsink/Fan for the Southbridge Chipset
Misc Stuff I also have purchased for this project
  • 2 x Scythe TM02-WH KAMA THERMO Thermometer
  • 2 x LOGISYS Computer CLK12BL 12" Cold Cathode kit
  • LOGISYS Computer LT405BL Computers Blue LED Acrylic Case Feet
  • Lots & lots of Heatshrink Tubing, Wire Loom & Sleeving material
  • Some Laser Light thingys I bought from somewhere
  • Bunch of bare LEDs of varying sizes with resistors
  • Lots of AS5 & Ceramique
  • ....... More when I can do inventory & take more pics
~~~~~~~~~~~~~~~~~~~~~~~~~~~~~~~~

Pics you say (sorry for the focus issue, next pics will be better)?

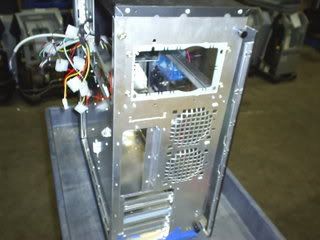
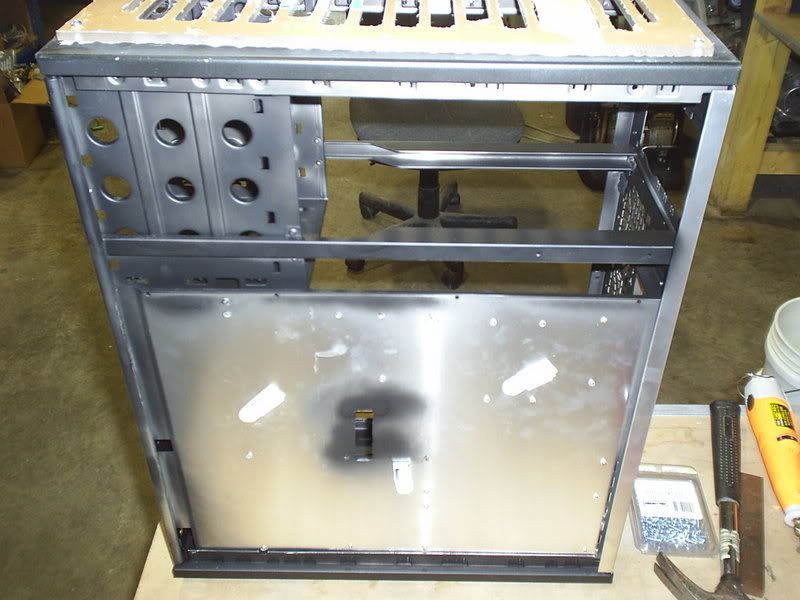
Case Side View
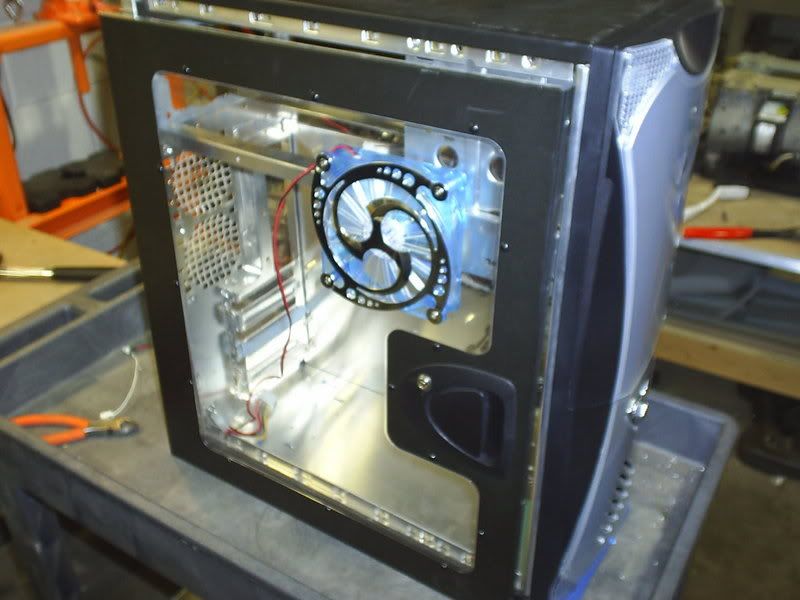
Image

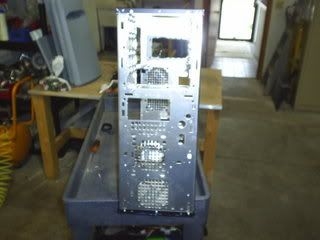
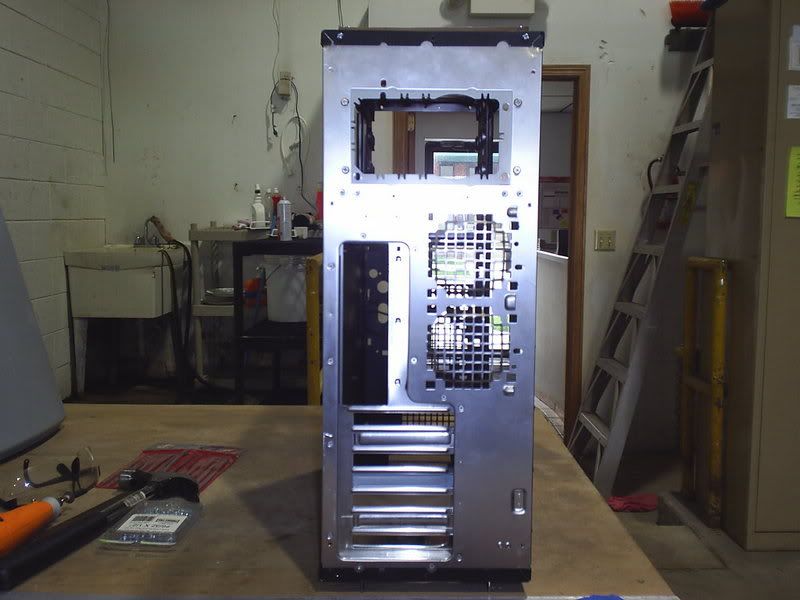
Case Rear View
Image

Case Top View
Image

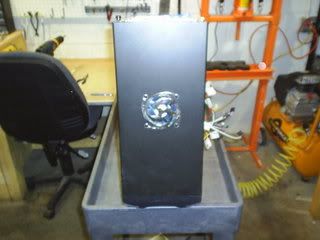
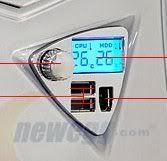
Case Front View (Take note of the USB Panel that I must get rid of)
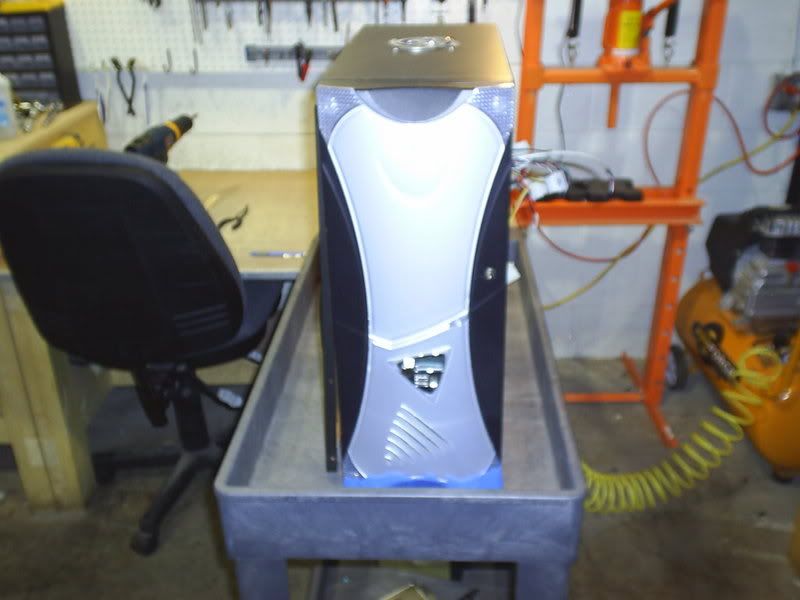
Image
Here: Image
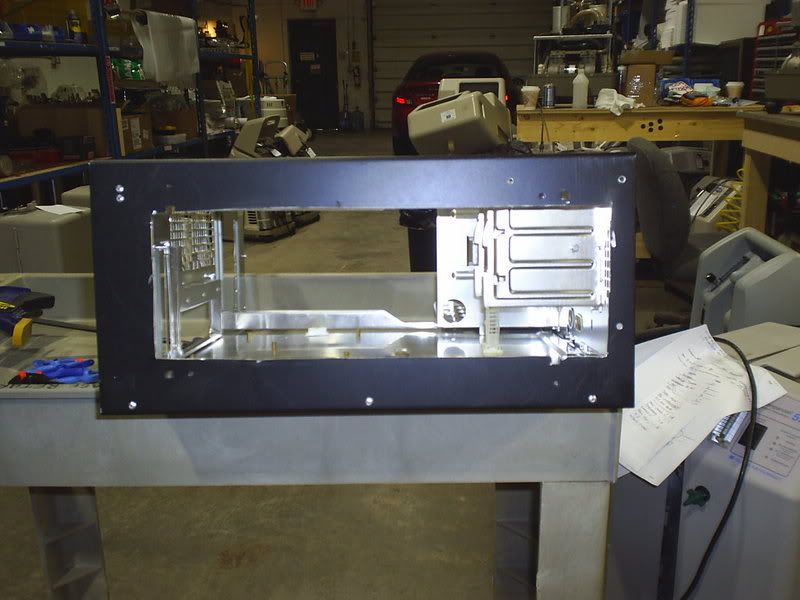
Case Front View Stripped
Image

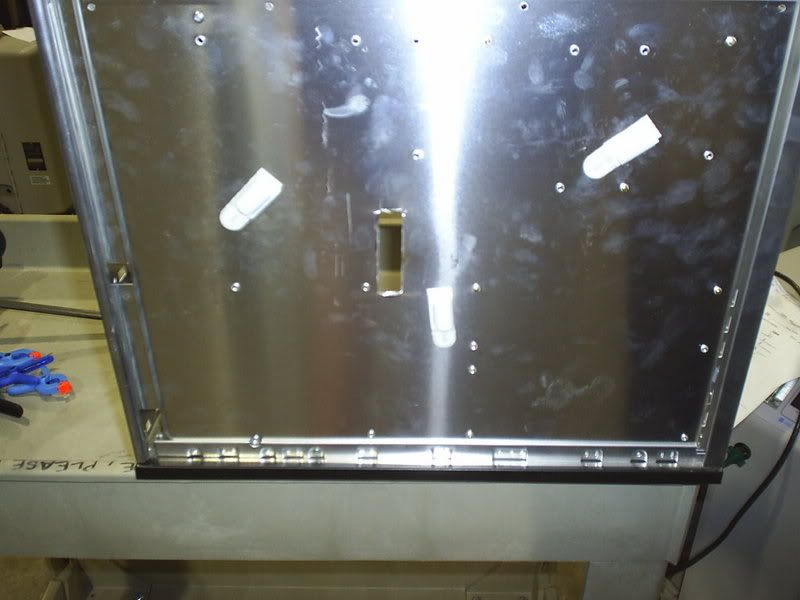
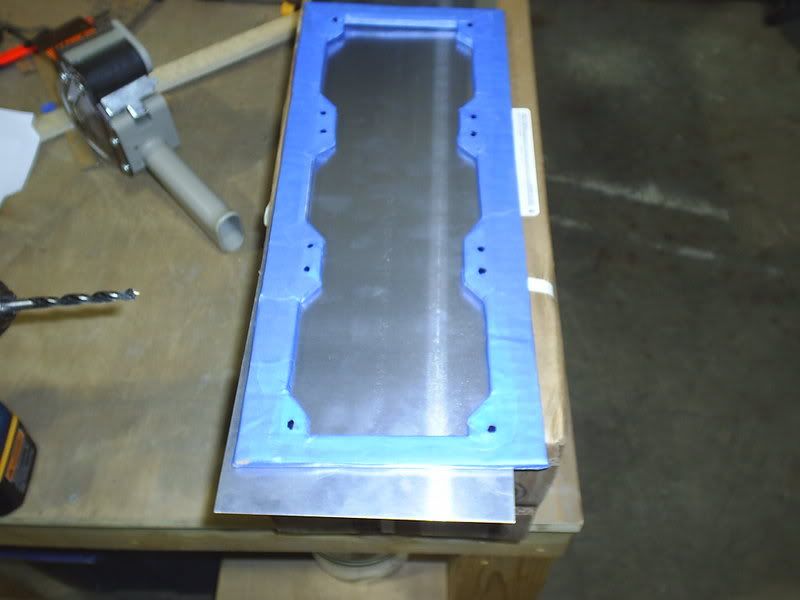
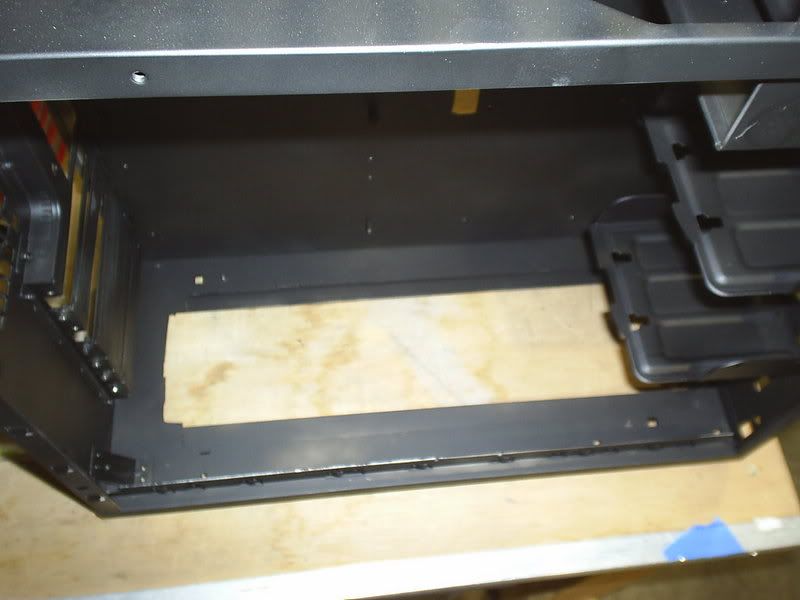
Bottom of Case being prepped for cutting
Image

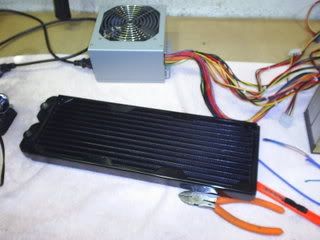
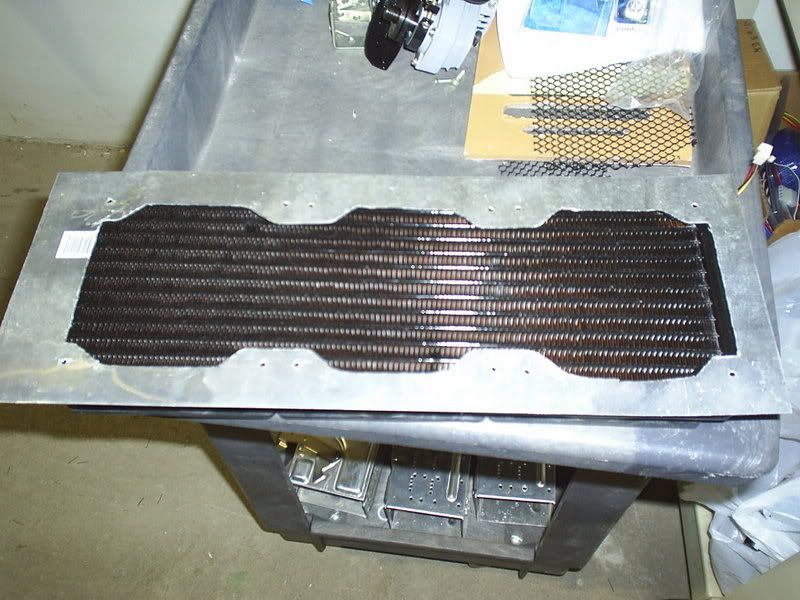
MCR-320 & Bench PSU
Image

Hot-Swap SATA Enclosure taken apart to change out fan(on it's way)
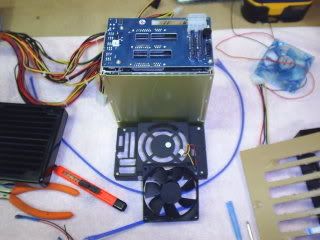
Image

Starting to wire the S-Flex fans for the RAD
Image

Okay, that's enough torturing you with the terrible image quality. Sorry about that!!!
~~~~~~~~~~~~~~~~~~~~~~~~~~~~~~~~~

I'm calling the project "Improvision" because I really need help with ideas from you folks. I'm just guessing right now, but I'll probably end up taking your ideas and improvising because of my lack of experience(and proper tools). I'm not expecting a show winner or anything like that. Frankly, I don't plan on painting it (maybe later). I just want the experience of doing this and learning lots!

Personally the way I'm feeling right now is that I want to just get the PC assembled & running and work on the asthetics over time.
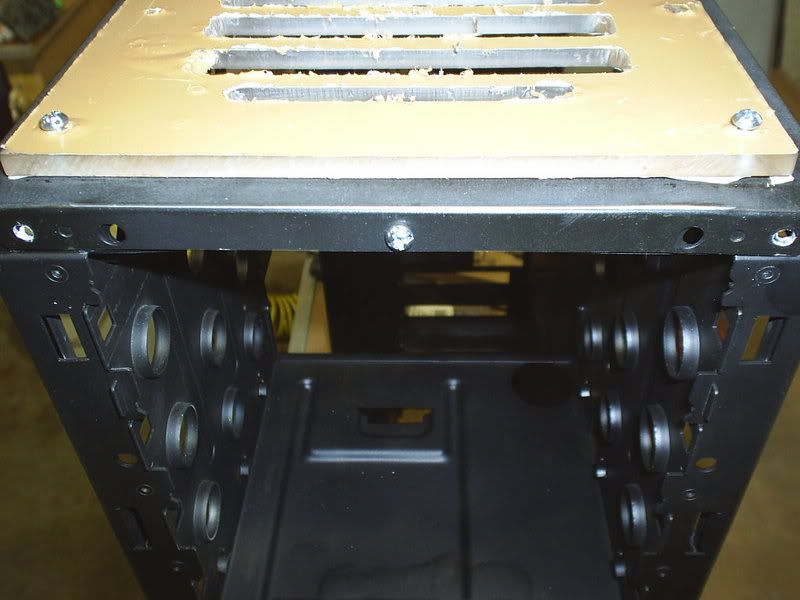
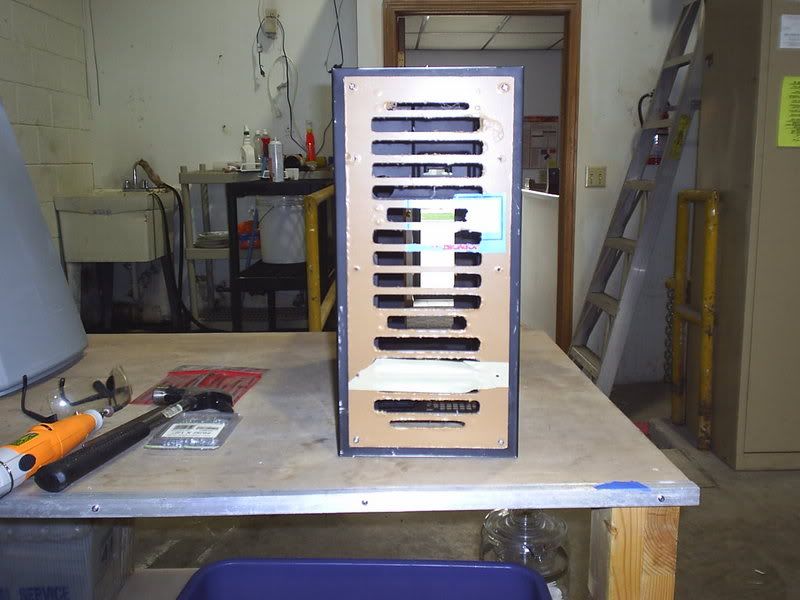
As it stands now (pics will come) the top of the case is off of the frame with a rectangle opening cut in it for 2 fans. Mind you, it's horribly done as the 2 generic Dremel tools I own are incredibly inadequate for this job. Also, the nicely drawn out guide for the RAD opening is a big square opening as well. I got impatient & pulled out the cut-off attachment for my RotoZip.

I lack many proper tools, but I have the will to want to make this work! Any guidance/suggestions/assistance/do it for me would be very welcome :D

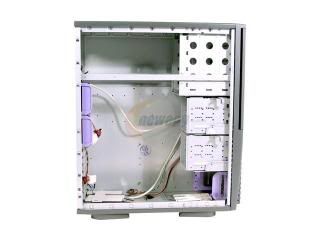
If all is said & down with the current case, I could also utilize the case that currently holds most of the parts mentioned and just start all over. I guess showing my hack-job on the current case would be best.
Existing Case:
Image

I have this worklog posted at another "larger" forum as a promise to a guy that has helped me out quite a bit. Hope that isn't a conflict.
Posted: Sun May 20, 2007 8:03 pm
by maj0r_pawnage
C00L :D

Keep it up

Posted: Sun May 20, 2007 9:08 pm
by road
Pics are fine. Looking forward to more of your log here! =D>

Posted: Mon May 21, 2007 11:58 am
by DMB2000uk
I have this worklog posted at another "larger" forum as a promise to a guy that has helped me out quite a bit. Hope that isn't a conflict.
Thought so ^_^ , which forum is this line aimed at:
I also was loving the various mod worklogs posted here. There are certainly some talented and creative individuals here!
:mrgreen:

Its fine that you're showing off your stuff elsewhere, LR doesn't have an exclusivity contract, and this way you get more varied opinions from both here and [H]forums, and in the end better help for you.


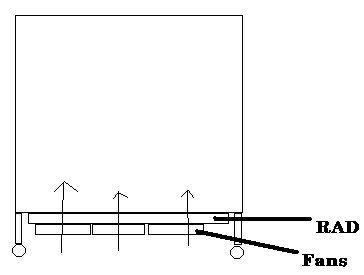
Am I interpreting correctly that you plan to put your new 3x120mm rad at the bottom of your case? Can you do a mockup diagram to show where you plan to put all the components for better clarity? 8)

And if you can cut a reasonably straight line it'll be fine, just make sure that you have some sort of metal file to smooth it off and remove sharp bits after.

My case mod was a bodge job and it turned out ok, so there's hope yet :P

Dan

Posted: Mon May 21, 2007 6:07 pm
by Indignity
DMB2000uk wrote:
I have this worklog posted at another "larger" forum as a promise to a guy that has helped me out quite a bit. Hope that isn't a conflict.
Thought so ^_^ , which forum is this line aimed at:
I also was loving the various mod worklogs posted here. There are certainly some talented and creative individuals here!
:mrgreen:

Its fine that you're showing off your stuff elsewhere, LR doesn't have an exclusivity contract, and this way you get more varied opinions from both here and [H]forums, and in the end better help for you.

Am I interpreting correctly that you plan to put your new 3x120mm rad at the bottom of your case? Can you do a mockup diagram to show where you plan to put all the components for better clarity? 8)

And if you can cut a reasonably straight line it'll be fine, just make sure that you have some sort of metal file to smooth it off and remove sharp bits after.

My case mod was a bodge job and it turned out ok, so there's hope yet :P

Dan
Hey Dan!

Hmmm... you browsing that "other" forum? :P

Seriously, there are some talented individuals here as well, but the modding isn't showcased here as much. You can take for instance, Bio-Hazard's work.

I am indeed placing the MCR-320 at the bottom of the case. I haven't quite worked out the final placement of everything besides the obvious yet. I do know that I'd like the pump to be nearest the bottom of the case as possible. I may have to formulate some sort of support bracket for it, but that will come. I've also tried messing around with Sketchup, but finding the time to learn the program is the kicker.

A big-time issue for me is time right now... I usually work from 8am-5pm, come home & feed the family, do errands and if time permits, drive back to work to mess with the case. Lucky for me, the shop is only about 1.5 miles from my home.

As far as the cut holes, if they end up being too narly, I'll just use something to cover up the edges which I didn't post a picture of.

Update will be posted shortly........ And thank you very much for the encouragement!!!!

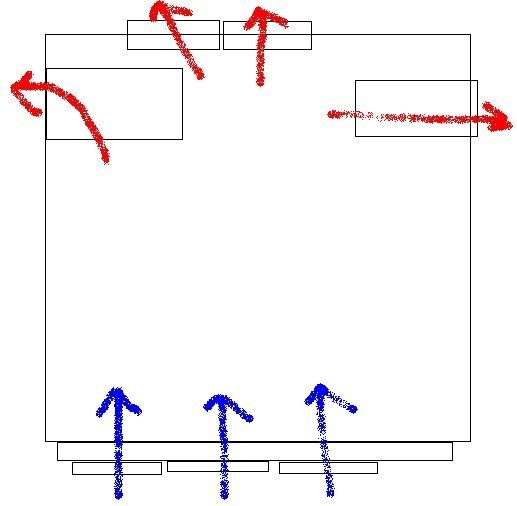
Oh yeah, the diagram:
Image

Posted: Mon May 21, 2007 6:33 pm
by Indignity
Okay, took some additional pics of my hack job & some of the inventory. This is pretty much as it stands today. From here on, I'm going to be asking you to help me along with this ;) ... something is ferked up with my camera & I can't sort it :( .. Hopefully, from now on, the pictures will be acceptable.

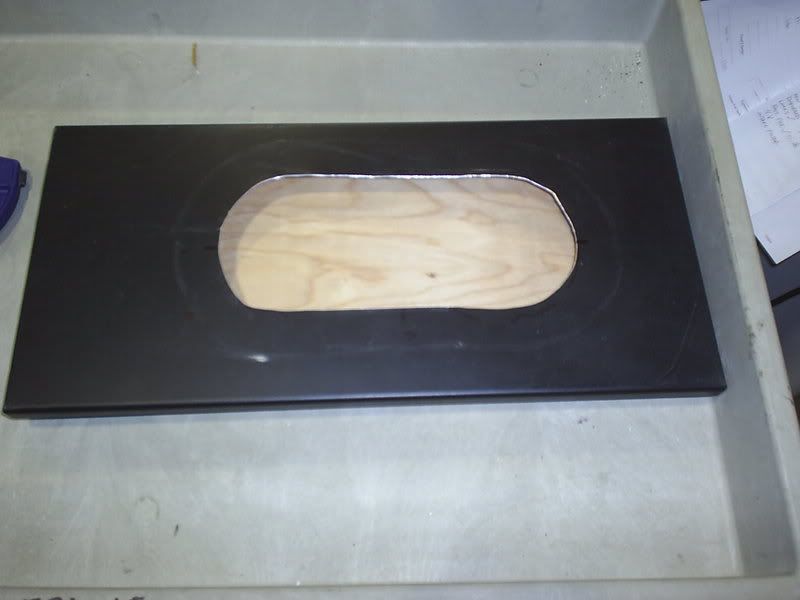
Here's the opening I cut into the top.
Image

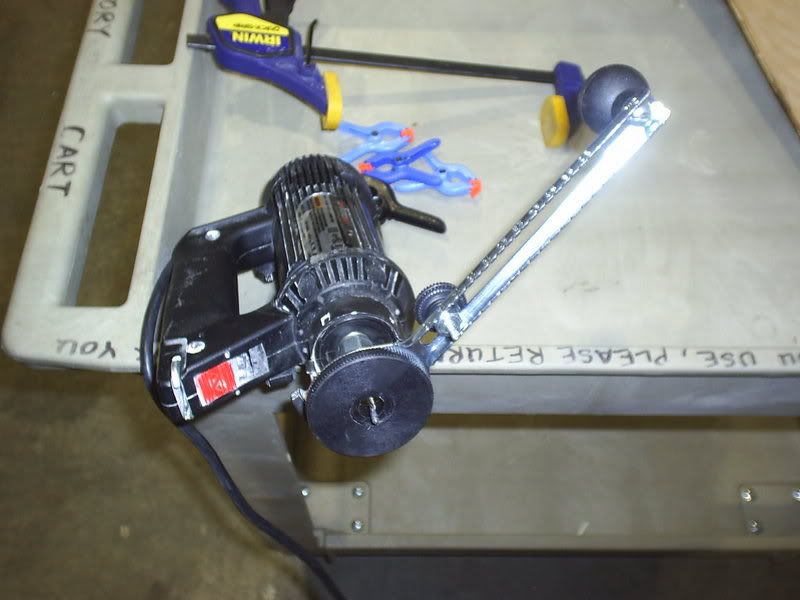
I'm coming back & cutting two circles with this nifty $14 attachment for my RotoZip.
Image

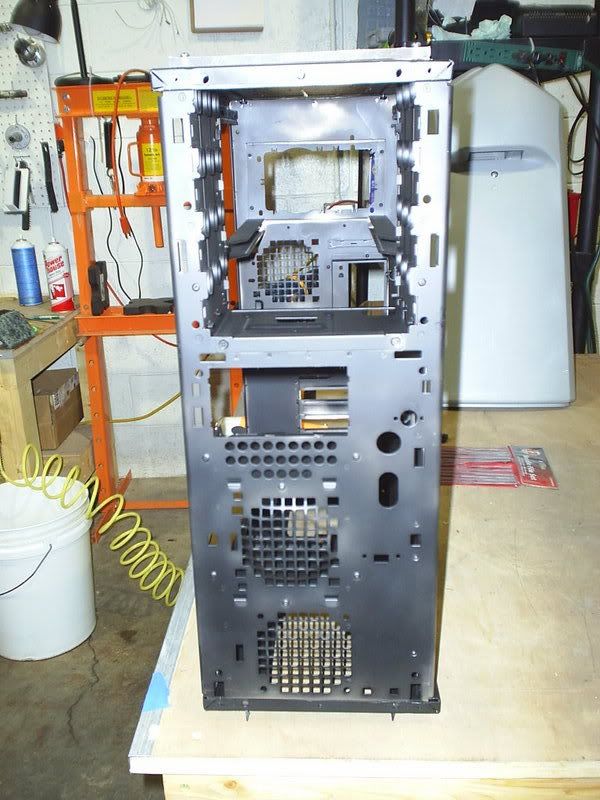
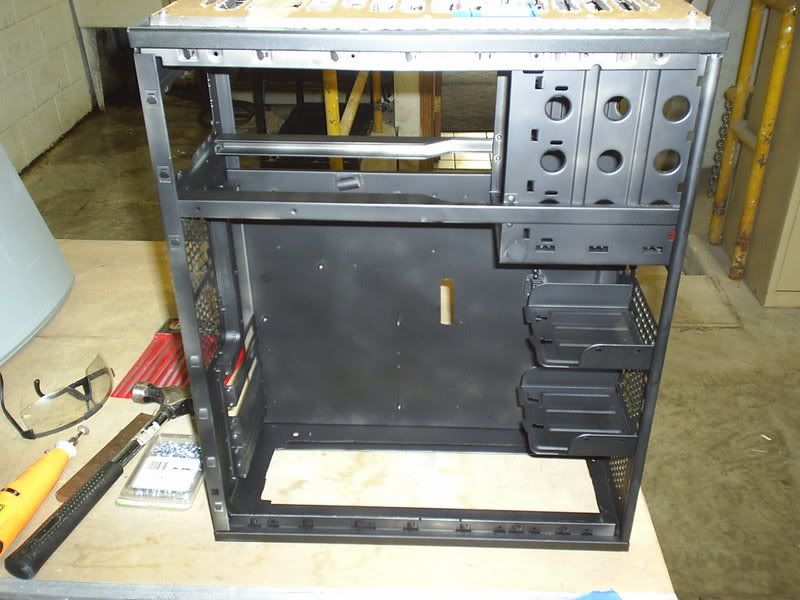
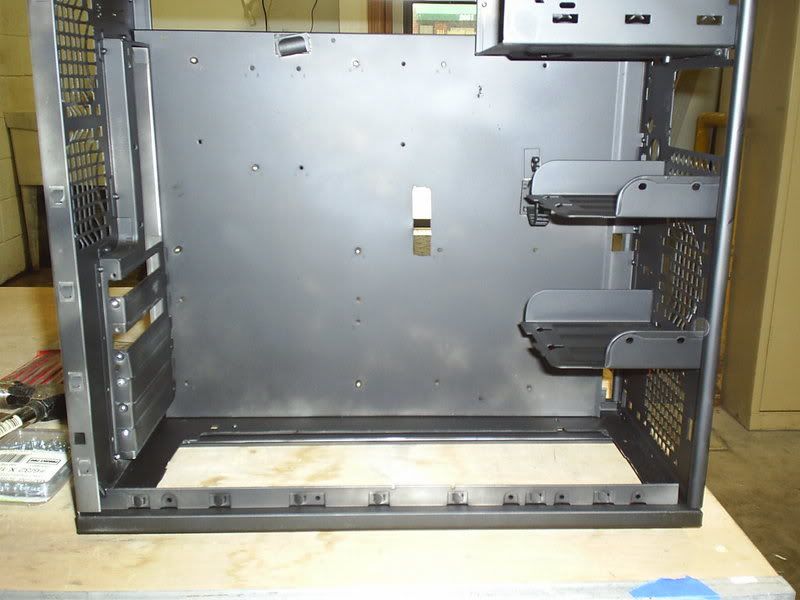
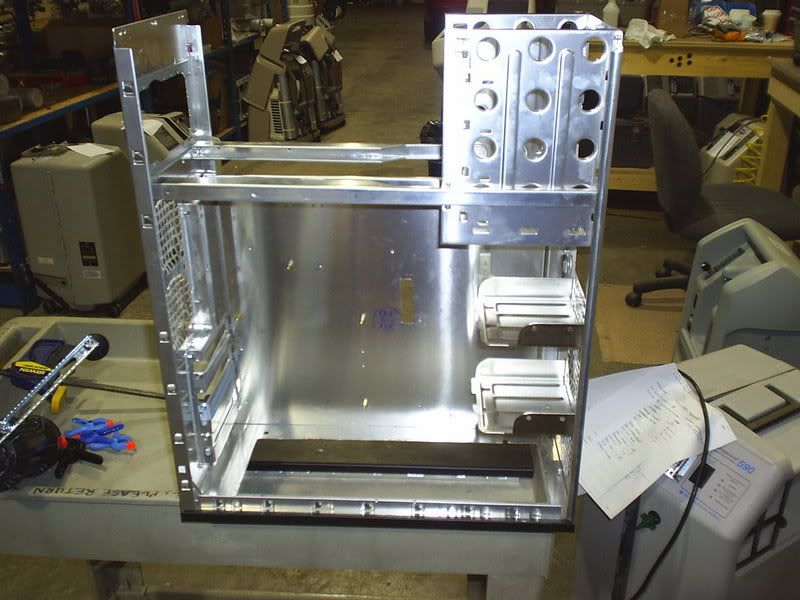
Stripped down case.
Image

Already cut a hole for the 24pin plug.
Image

Bottom Cut.
Image

Which I'm going to do over :).
Image

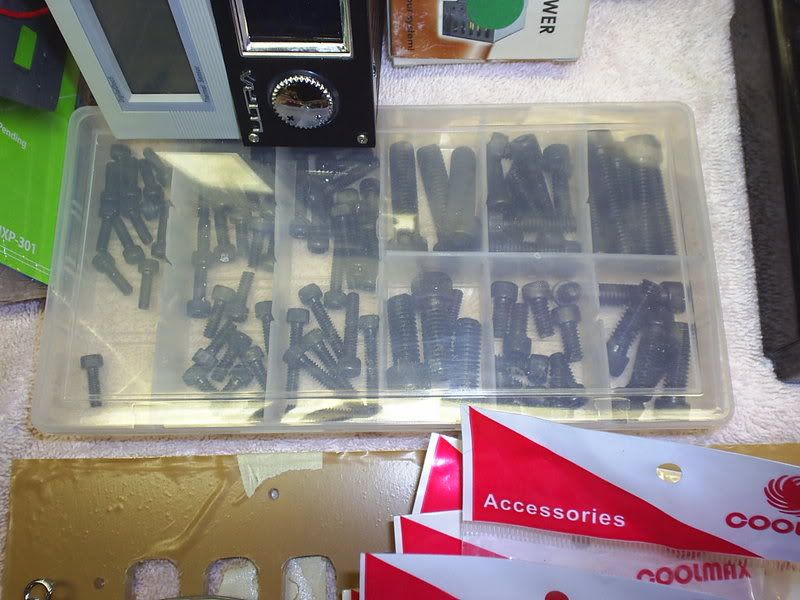
Onto the inventory...A bunch of this stuff will go unused, I'm sure :(
Image
Image
Image
Image
Image
Image
Image
Image
Image


I picked up 3 of these on clearance a while back, but I really don't like the amount of noise they make. The do push a hell of alot of air though.
Image

Got two of these with the intention of making them a way to quickly reset the BIOS instead of moving jumpers. they are On-Off-Momentary switches.
Image

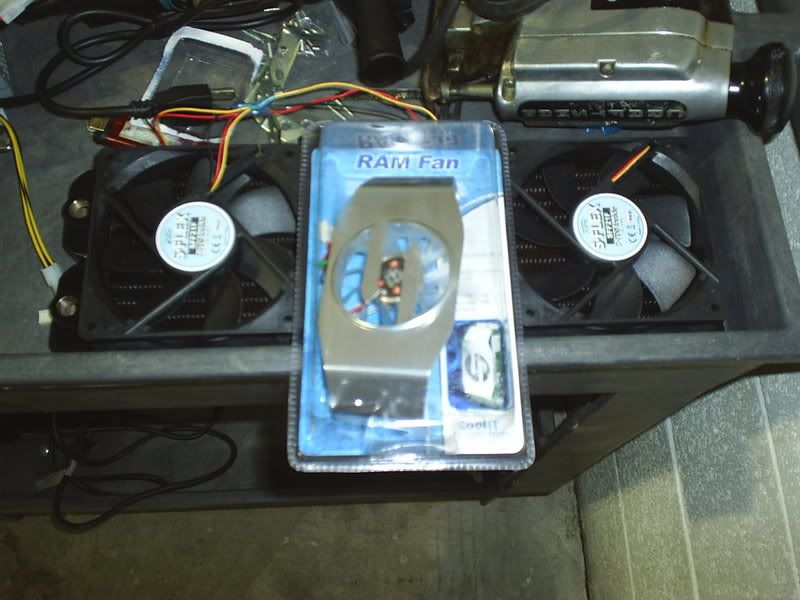
This arrived today :) (Now I have to wait for the replacement fan to arrive that pushes a bit more air & is a little bit more quiet that it's stock fan) If you want to see a review of this, you can find it here: http://www.legitreviews.com/article/469/1/
Image

I have quite a bit of misc stuff that I'm not even certain is going to make it into the case or just become something that sits in my basement that I'll find in 3 years & go "where the hell did this stuff come from?".

From here, I plan on redoing the bottom of the case & cutting better openings on the top for 2 fans. At that point, I think I'll be pretty much done with cutting/removing parts of the case & can start putting components in.

Please, if you have any ideas or suggestions for me, comment away. I need your ideas :)

Posted: Mon May 21, 2007 6:56 pm
by DMB2000uk
I know the QP series only need low CFM of air to get good performance, but I'm a little concerned that the radiator isn't going to be able to vent all its air out properly (presuming that the fans are blowing out the bottom, which would probably be a good idea as they would suck up all sorts of crap otherwise).

But seeing that there's nowhere else you can really put it, just make sure that your case is always on a hard surface (it'll sink into carpet) and has some decent sized feet on it. How much clearance do you have to play with in regards to your radiator to the nearest component/motherboard?

Image

Just throwing out idea's here, and ultimately its your project so come up with your own plan :mrgreen:, but do you need the second HDD cage? if not consider loosing it to put the pump there. And maybe for the airflow problem use a shim in a weird way (the zigzag red is the shim). Note the bigass case feet on the picture too for maximum air clearance :P

(and that level of drawing is all the effort you need to put into case schematics!)

*edit* meh, I totally drew/wrote this before you put up your diagram on your edited post above. Good to see that we're on similar wavelengths. :mrgreen:

Dan

Posted: Mon May 21, 2007 8:23 pm
by Indignity
Well, kinda on the same wavelength.

I set out to do as much reading as I could regarding a 3x120mm RAD in a push or pull configuration & the difference in temp was like 2-3%. Putting that thought together, I had to figure out how I would push the air through the fan. I thought long & hard on how I'm going to also cool the other components & airflow seemed to be the best solution.

Therefore, we have ambient air entering the case through the RAD and flowing outwards through the 2 120mm fans in the top & the 120mm fan in the PSU pushing air out of the back. The Northbridge and RAM are going to get really hot, so I've addressed both with active cooling. as well. There is also an 80mm fan within the hot-swap enclosure sucking air from the inside of the case across the three drives & out the front (which also gives me reason to remove the door on the outside as well).
Image

Oh yeah, in one of the pics, you can see the fan filters that will assist in keeping the cat/dog hair out.

As for the pump, I can still mount it to the floor of the case with the fans/RAD mounted on the outside of the case.

Dan, your feedback is very much appreciated! If you think I'm making any errors, please let me know!

Posted: Mon May 21, 2007 9:06 pm
by stopthekilling77
:shock: holy guacamole.

that is COOL!

Posted: Tue May 22, 2007 5:15 am
by DMB2000uk
Out of interest, which was the better config? (push or pull)

Be prepared to clean the filters alot :mrgreen:

If you have the rad inside the case and the fans on the outside, does that still give you room to have the pump at the bottom?

Dan

Posted: Tue May 22, 2007 5:28 am
by Indignity
stopthekilling77 wrote::shock: holy guacamole.

that is COOL!
lol the coolness is when it's done m8 :) thanks for the comment tho!!!
DMB2000uk wrote:Out of interest, which was the better config? (push or pull)

Be prepared to clean the filters alot Mr. Green

If you have the rad inside the case and the fans on the outside, does that still give you room to have the pump at the bottom?

Dan
Pull was more effective, but like 2-3% in the things I read. Keep in mind, this was just with a 3x120mm RAD that I was looking out for.

Oh yeah, I know I'll be cleaning filters quite often. Oh there's an idea.. A "Skirt" for the build to help keep the hair out, yet let fresh air in... HMMMMMM

I will say that I've thought about placing the RAD inside the case. I guess we'll have to wait until I get the replacement bottom in to see. Yes, I would love to keep everything inside the case(especially the fans).

Posted: Tue May 22, 2007 5:38 am
by KnightRid
I got some of those UV SATA cables - mine dont glow very much under 1 UV light in the case :( I have yet to try it in total darkness, wife is in a "lets move all the furniture in the house to a new place" mood.

Mike

Posted: Tue May 22, 2007 11:20 pm
by odie2190
u have it right i thnk since hot air rises and cold air sinks.

Posted: Thu May 24, 2007 5:56 am
by Indignity
Alrighty!!!

Very small update here.

I semi-finished the new bottom to cover the canyon I cut in the case bottom.
Image

And some other stuff arrived :D
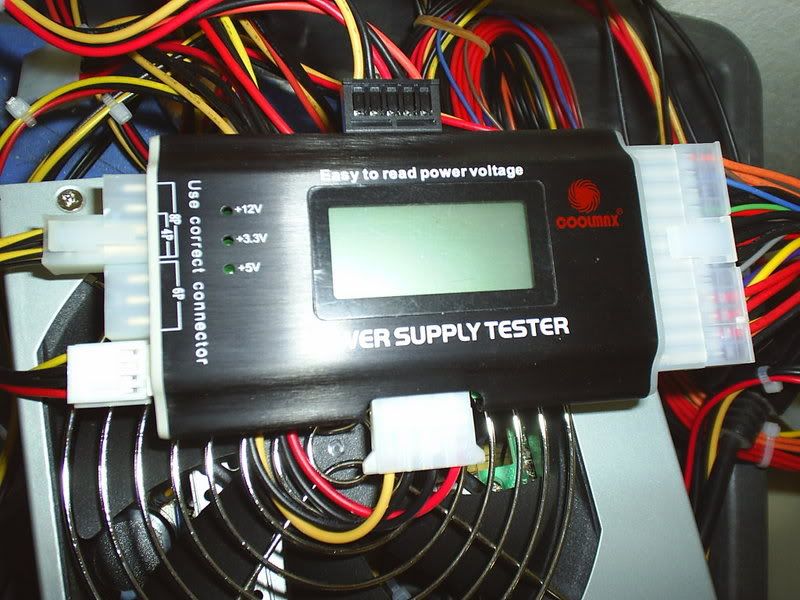
Power Supply Tester I've been wanting for a while now:
Image
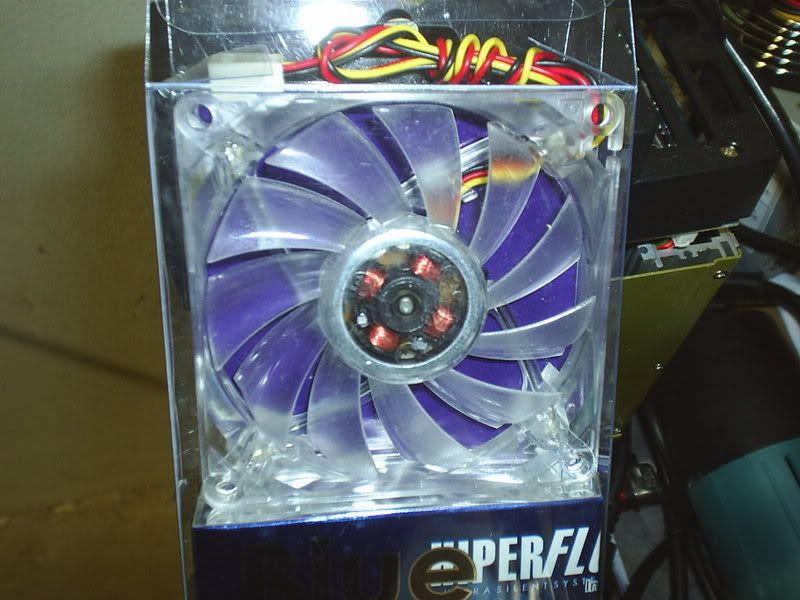
SATA Enclosure Replacement fan
Image
A little bling for the exterior
Image

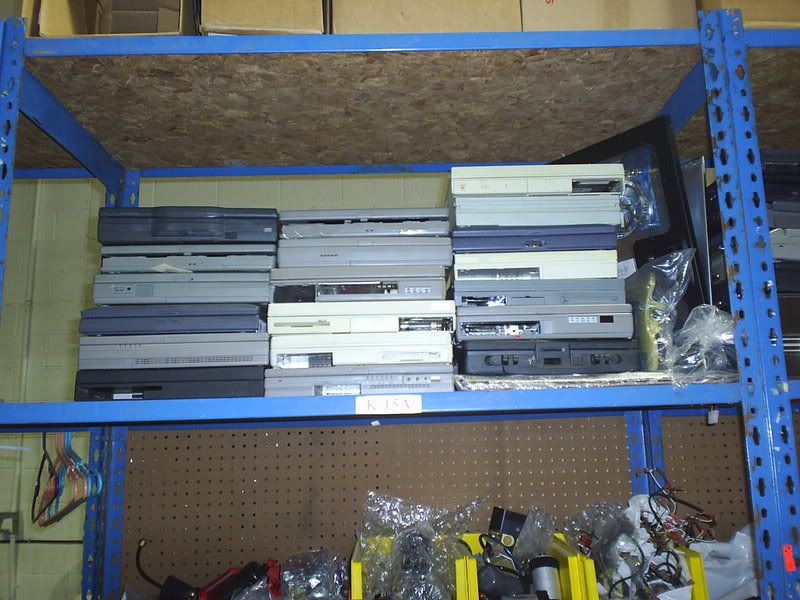
[FONT="System"]Everyone must have a pile of laptops imho[/FONT]

Actually, I posted a vehicle for my dad on Craigslist & just went & browsed around the computer listings & whammo, this is what I found:
Image
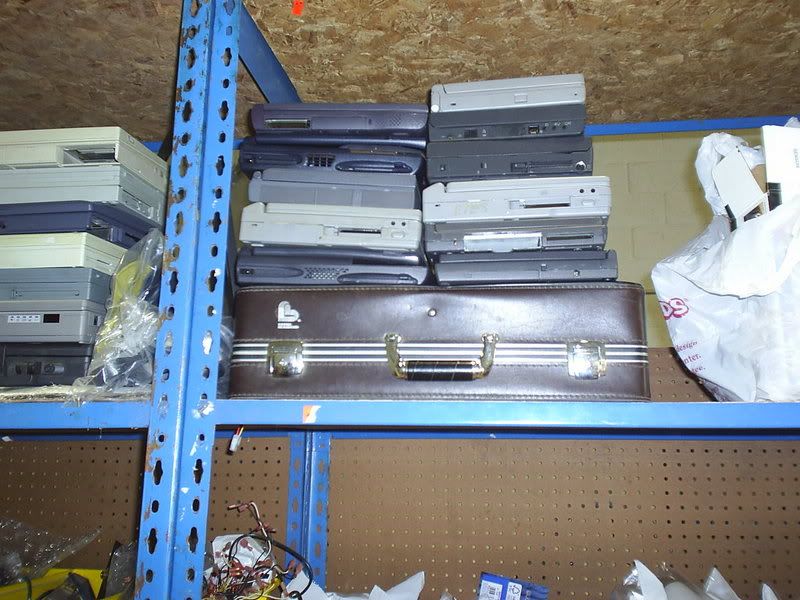
Image

There's actually a total of 33 in various stages of dis-repair. Obviously, this stuff will be my next project ;) ... There's an old one that works off dual floppies in the brown briefcase if anyone is interested lol... The gal was apparently in no way going to do anything with this stuff as she gave me a nice 19" LCD that she said had some occasional vertical lines appear from time to time that I have yet to test. Yeah I made out in the deal for sure!!!!

Long weekend ahead, I might be able to take a few hours out & dedicate to making progress with this project.

Posted: Sun May 27, 2007 2:16 pm
by id86
good job there dude.

im also will start modding.still planning the design.but,not using liquid cooling.

Posted: Tue May 29, 2007 6:09 pm
by Indignity
A very small update & I'm need some help on ideas for the fan wiring.

I did a quick coat of a flat black primer on the inside of most of the case. I wasn't trying to be real accurate as I plan on at least 2-3 finish coats on the inside. That will remain a secret until I get a chance to try it out to see how it looks.

Painting the outside of the case is going to be put off for a long time. I'm going for something totally unique & the neighbor is a Professional at "IT", so I'm going to have him show me the technique on his bi-weekly returns from the job site he's at right now.

I've changed things up a bit & decided I could use the acrylic radiator grill in another capacity. I'm planning on adding a few white LEDs around the piece for bling.
Image
Image

These images are mainly just a call for help from you guys:

Image
Image
Image
Image
Image
Image

Counting all the fans I'll have on this, I'm hoping that a 3 dial rheo will be enough to control everything, but not certain.
Here's how I think it will be working:

3x120mm Fans for the RAD on #1
1x50mm Fan for the Northbridge on #2
1x60mm Fan for the RAM (RAMFan) on #2
2x80mm Fans for the back (exhaust) on #3
2x120mm Fans on Top on #3(exhaust)


I need to add in lighting, but i'll wait until I get the interior laid out before deciding on that, but there should be a number of LEDs/Laser/CCL to deal with.

I really need some suggestions now that I'm just about ready to get the components in the case!!! PLEASE!!!

Posted: Thu Jun 21, 2007 7:46 am
by DMB2000uk
Where are the updates?!?!

:mrgreen:

Dan