From the first time I saw a picture of this cooler (it was the ATI red version) I thought that it was one neat looking cooler and had my fingers crossed that it would come out for nvidia!!! I wanted so badly to use it with my XFX GTX 260 BE….my how things change for me. I finally managed to pick one up but it will not go on the 260, instead it was headed for a XFX GTX 285.
I’m an admitted Zalman fanboy when it comes to their “flower” style CPU coolers as I’ve only been doing mATX builds for the last 8 or so years. This will be my first venture into GPU cooling since I did an ATI 9800 Pro.
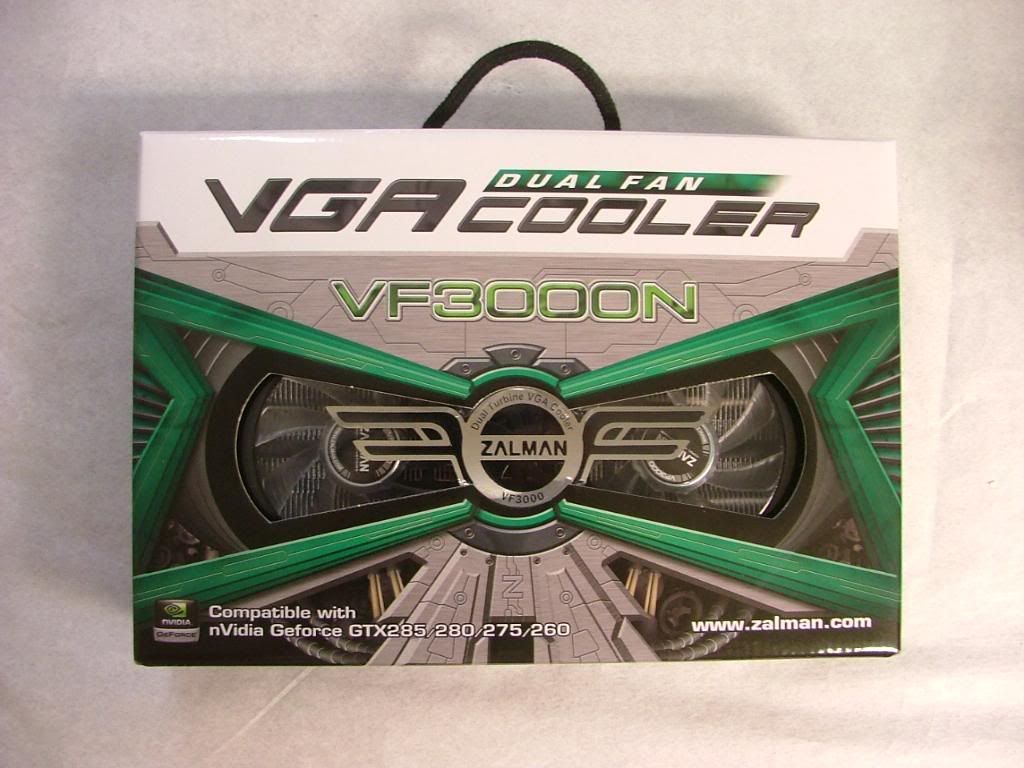
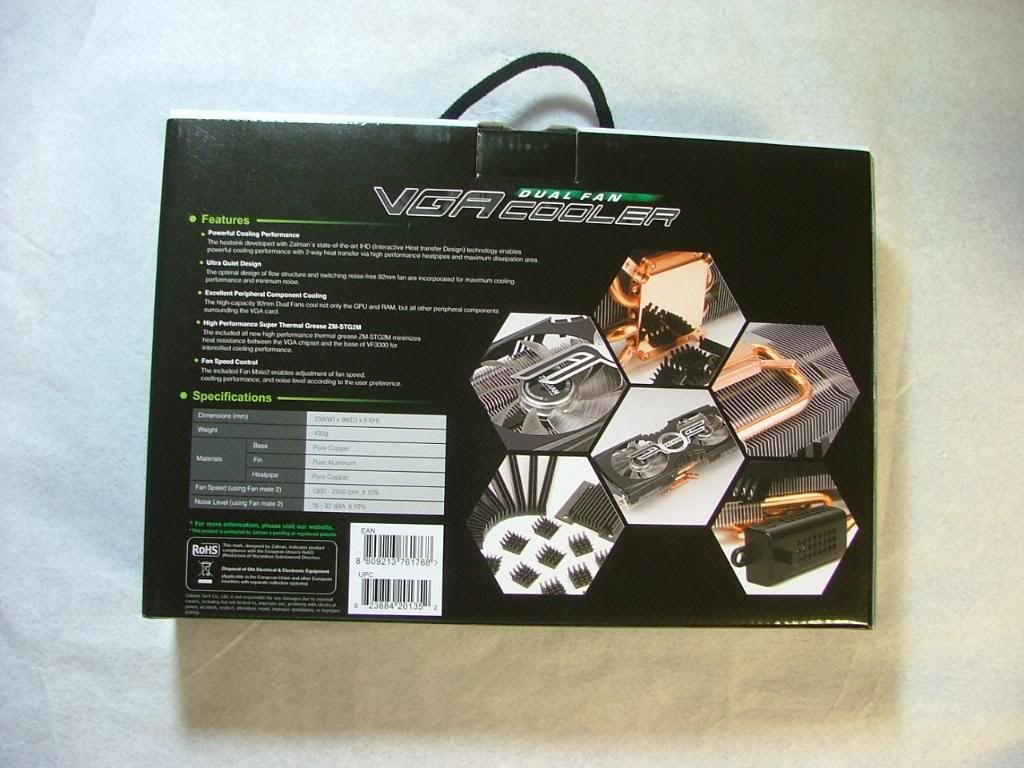
When I opened the shipping box I was greeted with what I consider one of the “sexiest” looking product boxes. I know, but that is what happens when you’re an old fart……..here you have it front and back.
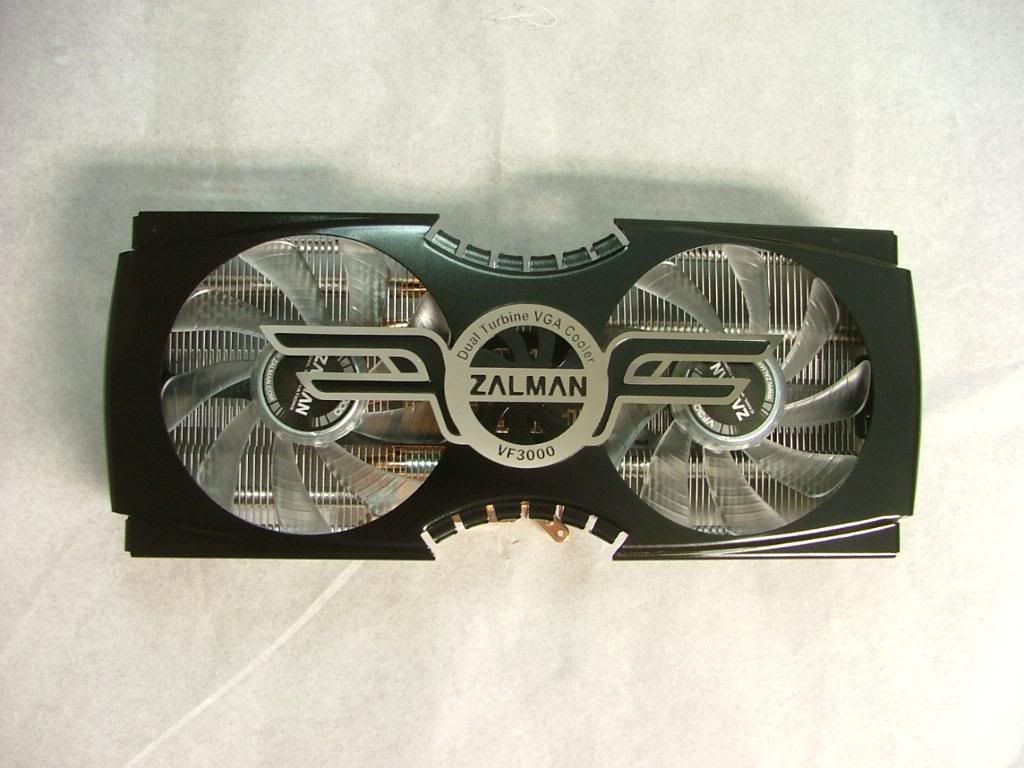
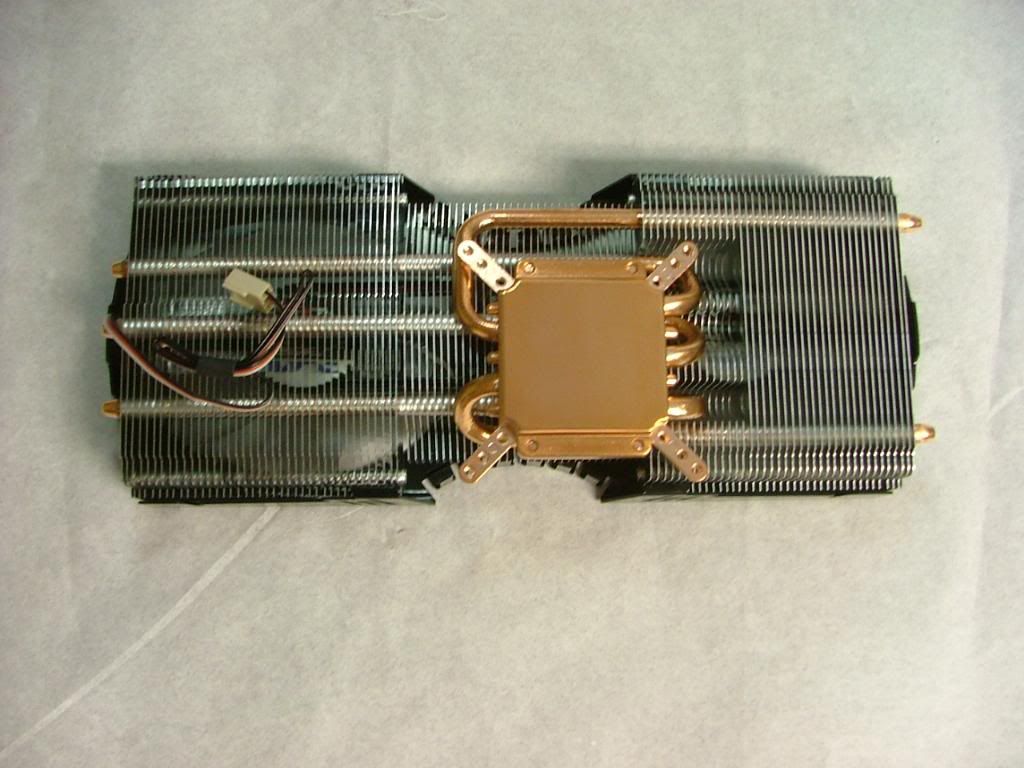
When I removed the unit from the box it was held in their usual vac formed style container to protect the fins and base. Also included was a stuffed goodie bag and manual. Here we have some pix of the unit and what comes in the goodie bag. After this I’ll go into mounting the hardware, my thoughts of the assembly and some very “rough” comparison testing.
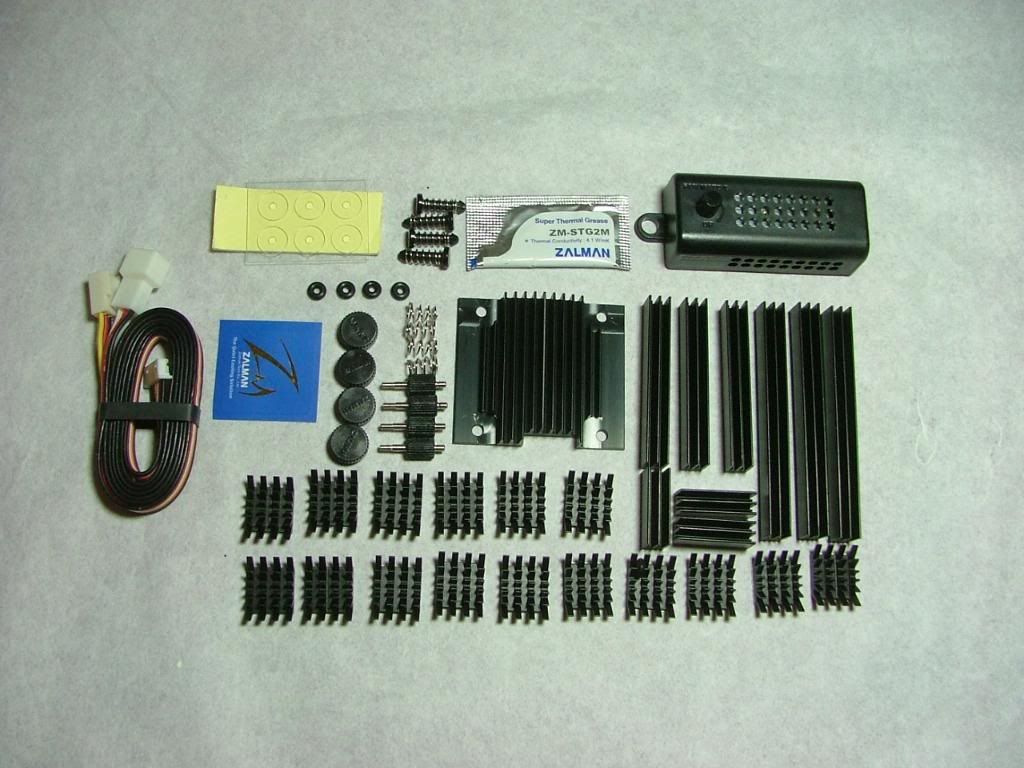
As shown the goodie bag contained all of the mounting hardware and heat sinks. As a side note for those ATI guys, what you see in black is in red for you guys.
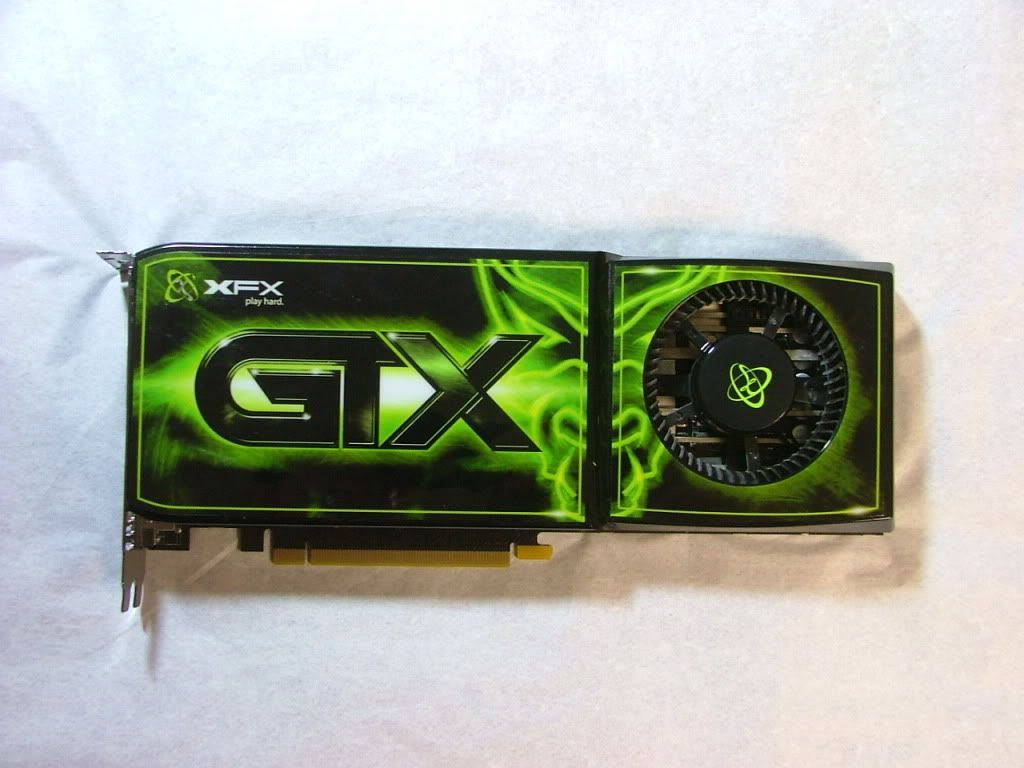
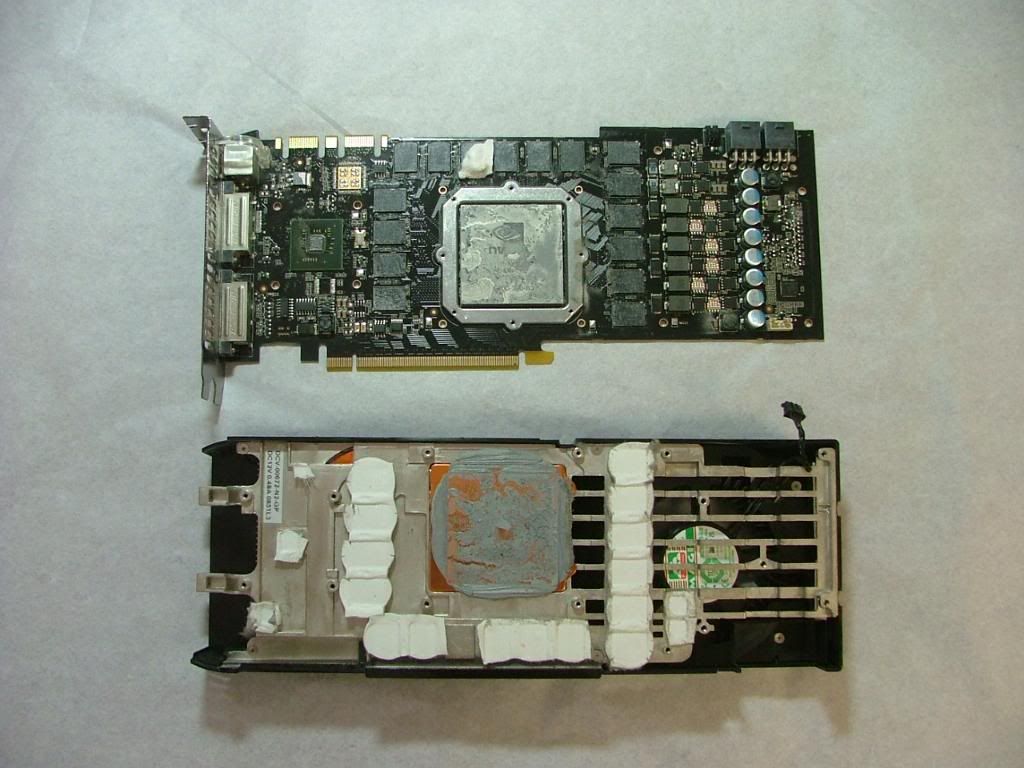
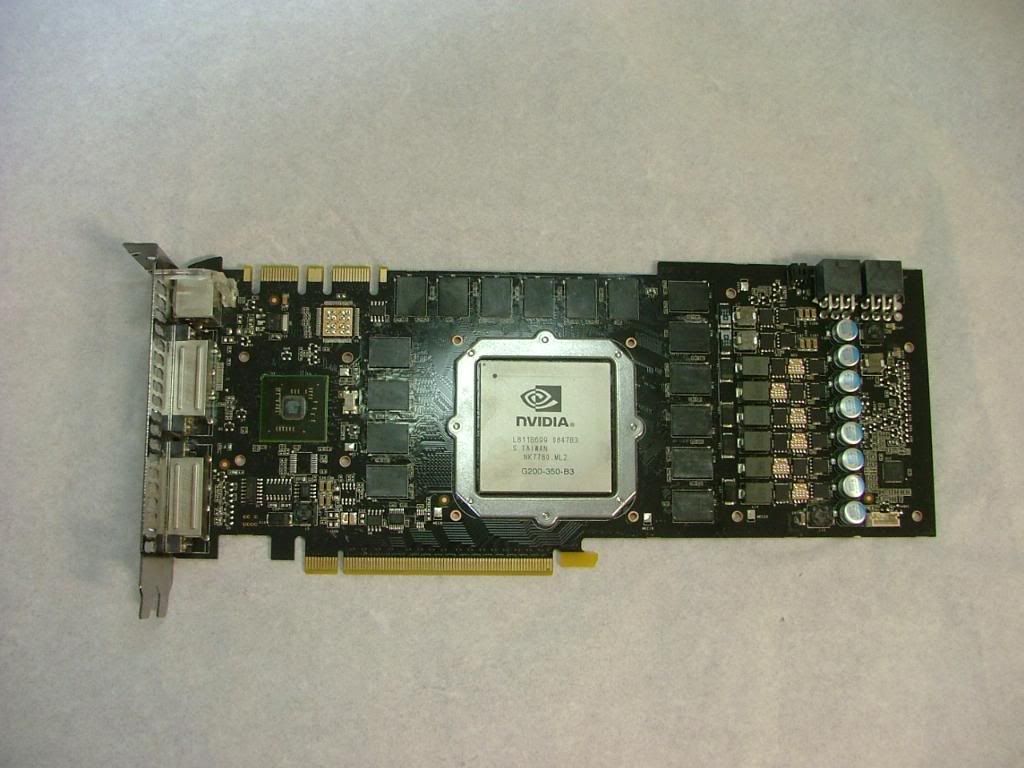
Here is the victim, what it looked like when the cooler was pull off, and what appears to be a clean and ready necked 285.
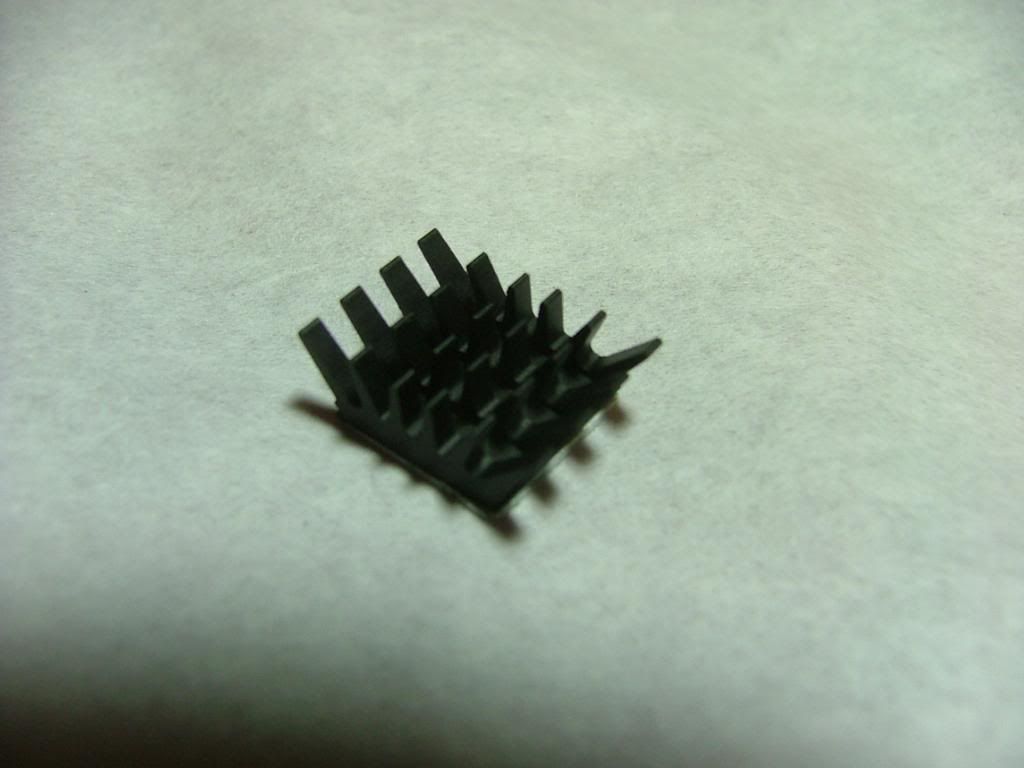
I initially laid out all of the sinks to see if yes there were enough and if yes they fit as shown in the manual. With exception of the NVIO Chipset sink all memory and FET sinks are mounted with thermal tape. The NVIO is mounted with push pins and a little dab of TM.
Good thing for test fitting as there was one small area that required a change……a couple of the FET sink would not go as shown. Zalman provides three different lengths to aid in the universal fit mentality. Where the difference lay was the two pairs of FETs shown to the upper middle of the pic.
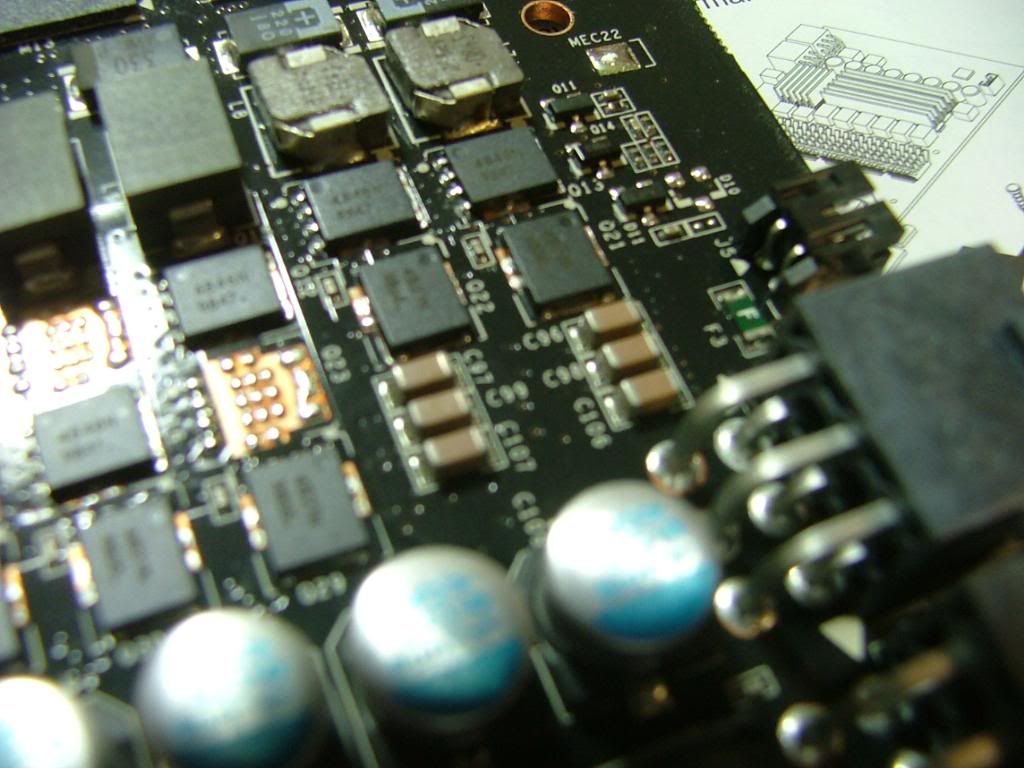
The manual shows these two of the short lengths running parallel with the top edge of the card. However what appear to be two banks of three resistors does not let this happen as they are taller. So plop, plop, fizz, fizz (showing my age here) the sinks were turned 90 degrees.
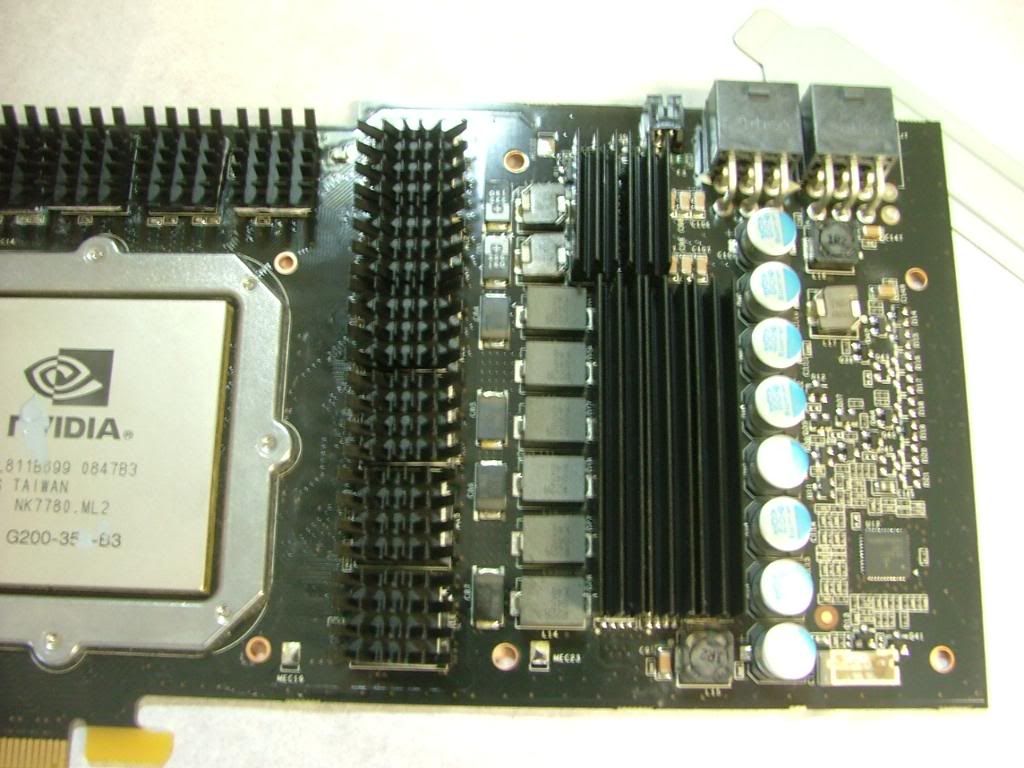
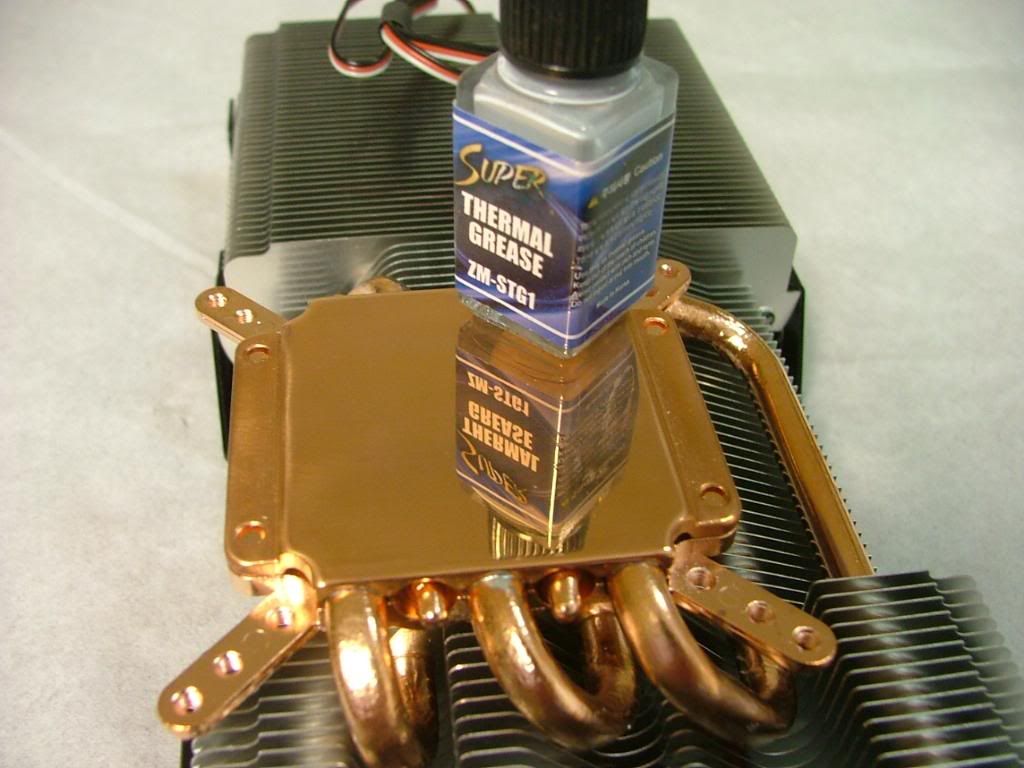
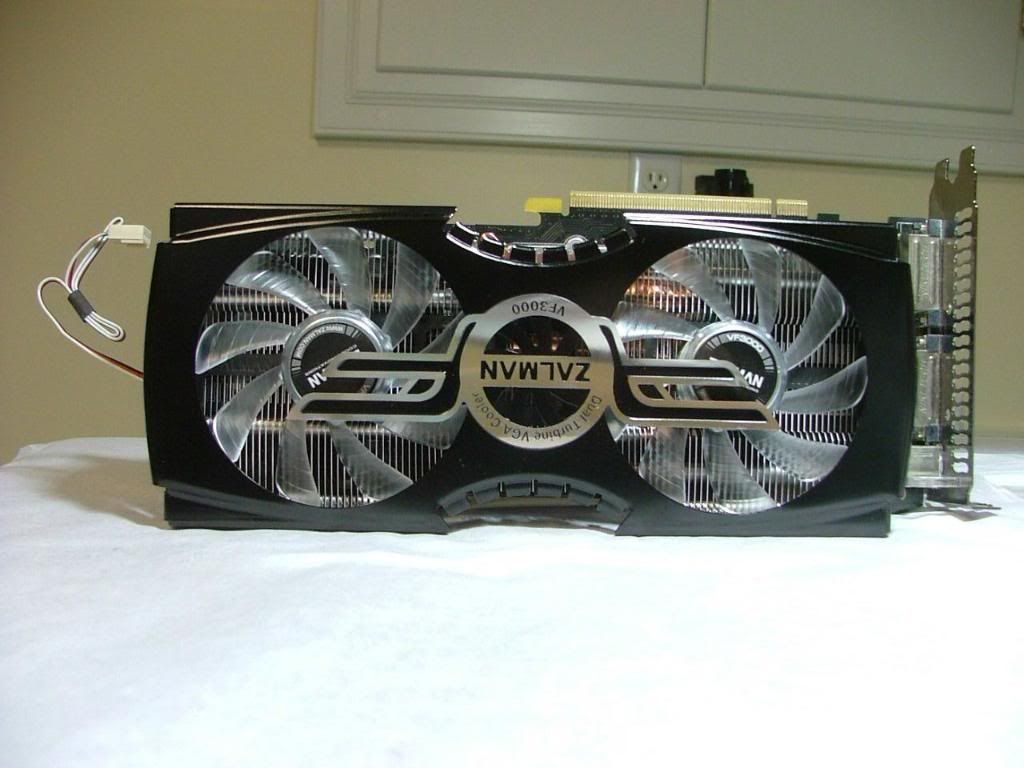
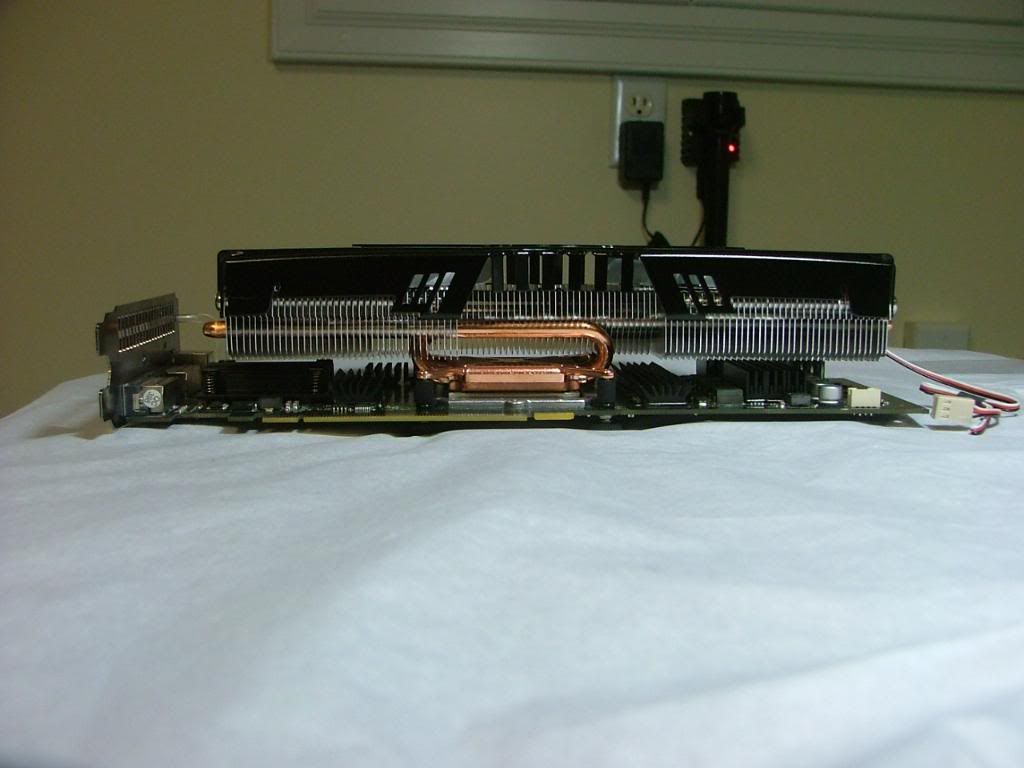
Here we have the sinks in place ready to have the cooler installed, then the cooler in place showing the top (albeit upside down LOL), bottom, and top of the assembly. Then you see a close up of the bottom showing memory sinks and the base….more on that after the pictures.
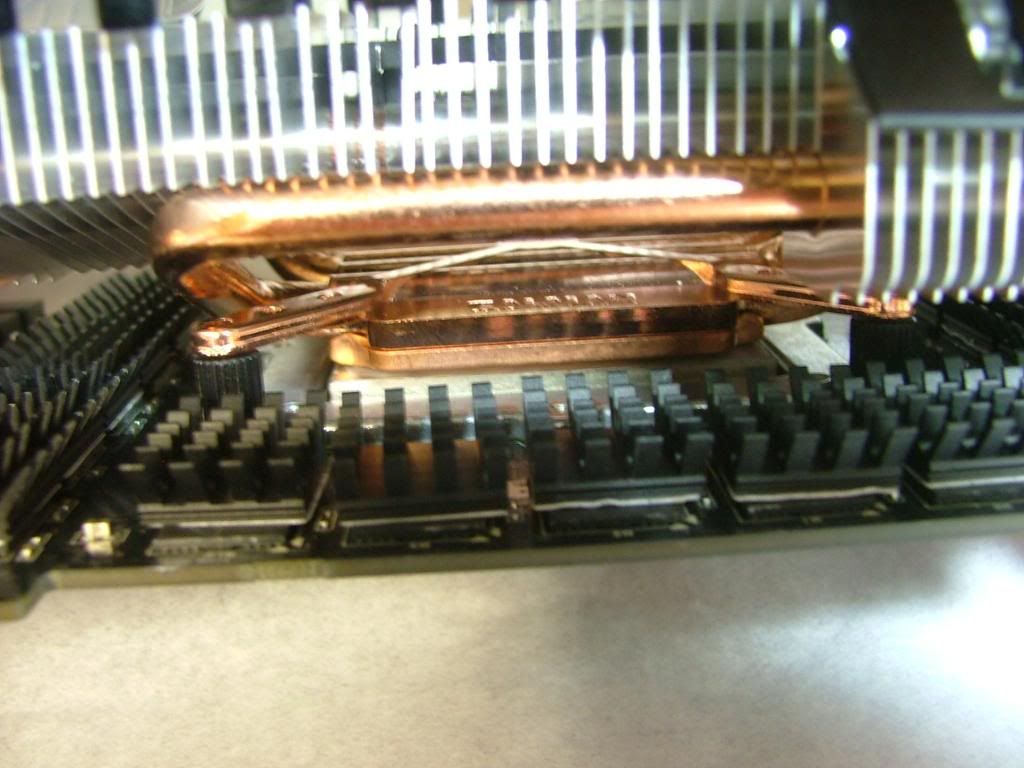
Mounting the cooler itself is fairly straight forward as shown in the manual. Sorry but I didn’t take any pictures of this phase. While an easy assembly, here is where I ran into my most frustrating part. When placing the cooler onto the GPU be very careful of how you grip the graphics card. My fat fingers kept pushing the mem sinks loose and remember when I said earlier that the card appeared clean? It seems that after loosening the sinks the whole bottom row (close up pic above) would not stick. I must have replaced the thermal tape at least 4 times and tried cleaning the memory the same amount. I was finally able to get them to stick long enough to let them “cook” in place.
Let me make a suggestion……….borrow the wife’s hairdryer and hit the thermal tape with high heat while the GPU is lying flat and you’re able to confirm adherence.
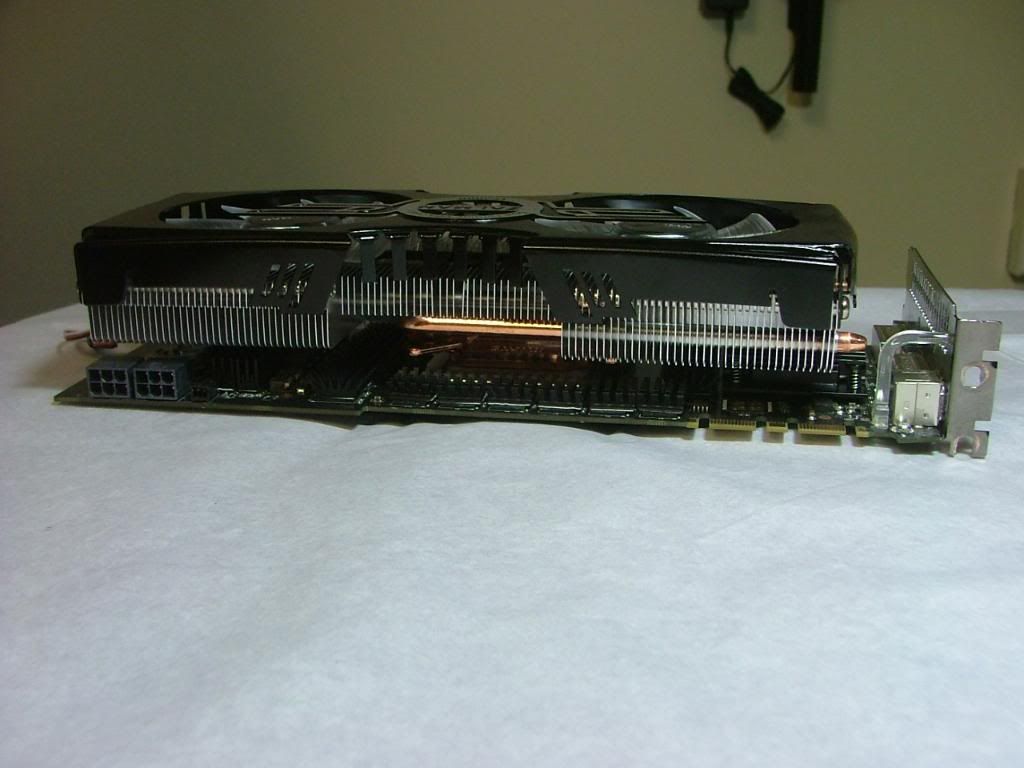
After getting this assembly together something became very obvious, the VF3000 series cooler (yes one is coming out for the 470 / 480) makes the vid card a 2 - 1/2 slot solution. Here you have a stock 285 with the Zalman cooled unit behind.
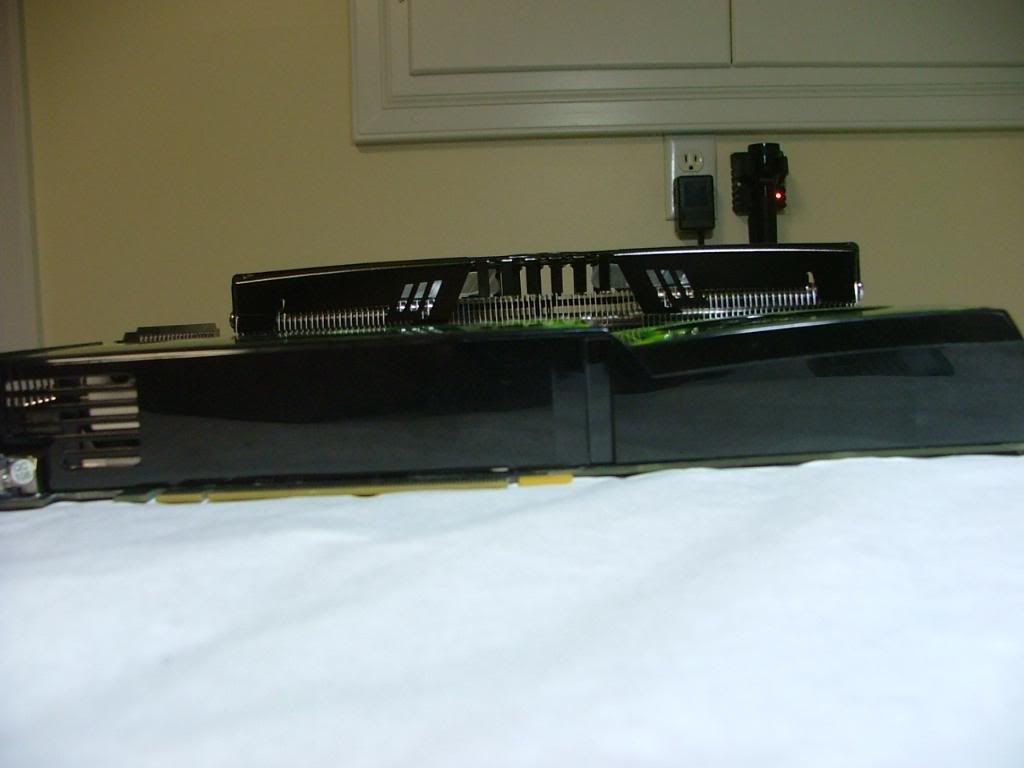
This is something I had not expected and if I indeed decide to go SLI with my next build I better not want to add anything else to the mobo!!!
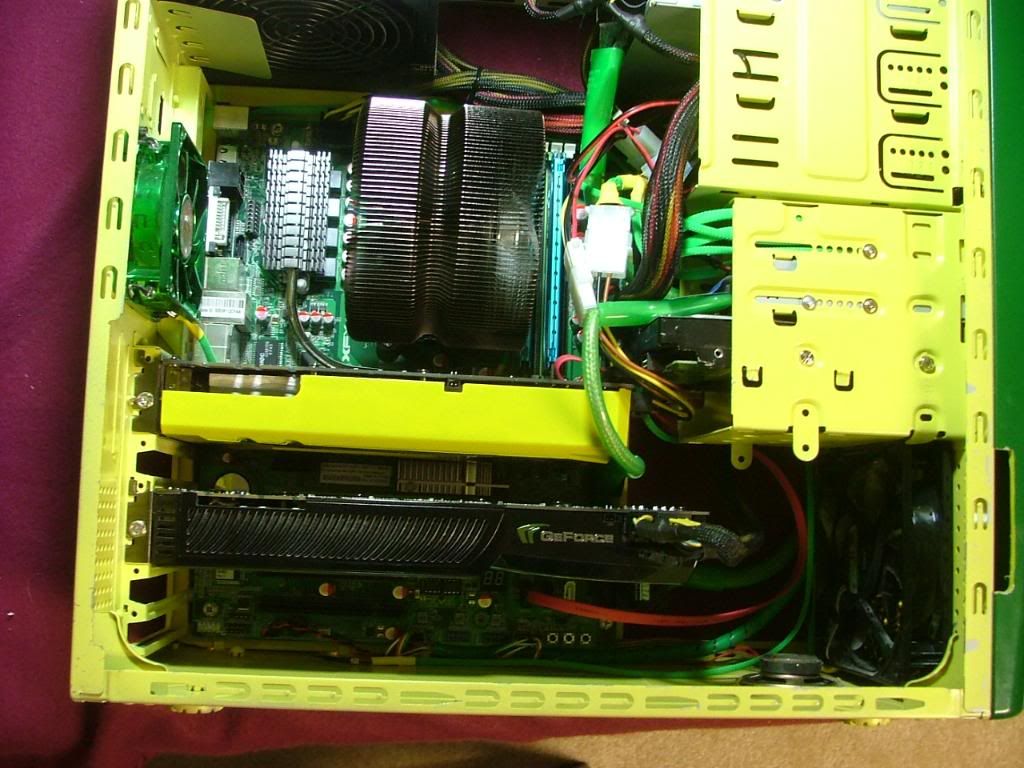
For testing efficiency I was very barbaric in methodology as my resources right now are scattered across the floor and in boxes. All builds are mATX with the exception of Oz1a and would NOT give a fair chance to the Zalman cooled unit as one needs space and a lot of air movement for this style of cooler.
So I first stuffed the stock config into the bottom slot of Oz1a’s XFX 750a and let it fold. I watched temps using HWMon, GPUz, and Evga’s Precision. And made an interesting observation…….the stock cooler was quite efficient!! Under the same conditions as the 250GTS cards in Oz1a it ran cooler. Which didn’t bode well for the Zalman…….in certain situations it actually seemed the stock cooler ran cooler as it was sending the heat out the rear and the VF3000 was recirculation the heat.
In the poor ventilation and air movement of Oz1a’s 10 year old case they were pretty much “tied” as far as how well the card was kept cool. The VF3000 just did it more quietly. Sooooooooooo…………
What I liked:
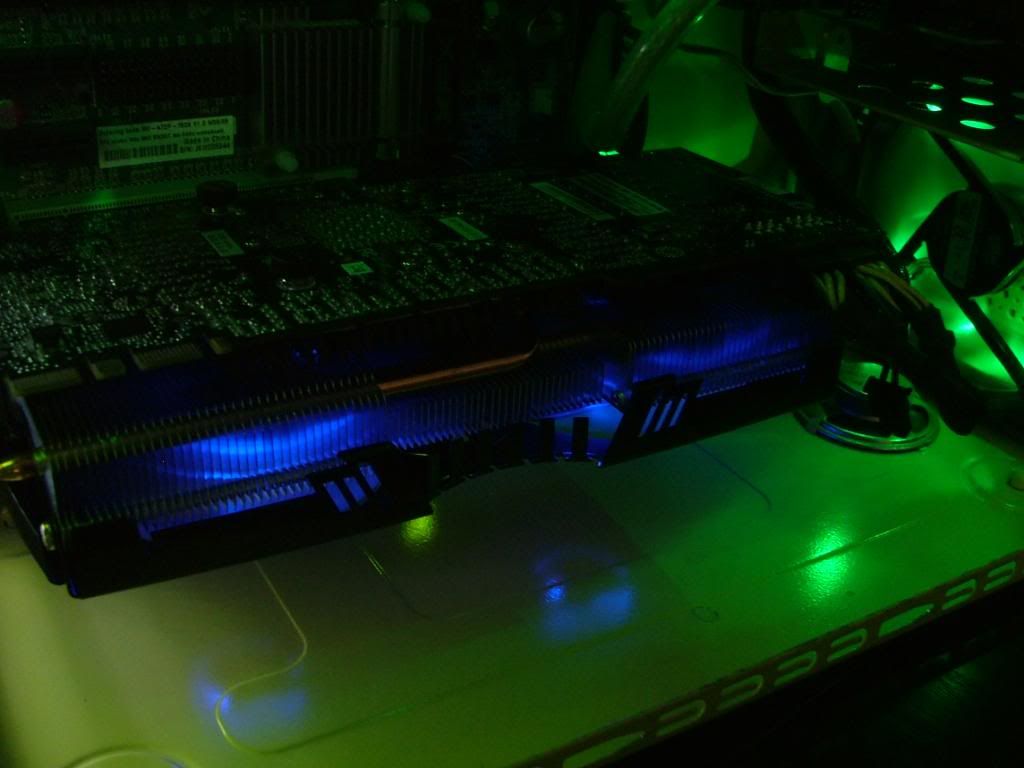
1. Bling factor (including the typical Zalman blue leds)
2. Quietness
3. Workmanship
What I didn’t like
1. Extra “thickness” – 2 ½ slots
2. Wasn’t all that much more efficient than stock cooling
3. Did I mention size??
However the final verdict will be made when it makes it into the Zalman Z7 Plus case with its four 120mm fans, more interior space, and cooling intakes. http://forums.legitreviews.com/about28098.html