Well, Warmahines now online
WITH A HUGE THANKS TO BIOHAZZARD!
I drove down to his place in the back woods of Missouri and I'm glad I did due to a few technical glitches we ran into, namely the mounting screw for the CPU waterblock was milled wrong and wouldn't attach to the back plate. 3 of them screwed down tight but the 4th refused to bite. Fortunatly Bio had a whole slew of spare parts including the mounting hardware for an older Apogee GTX that fit perfectly. Now, on to the pics!
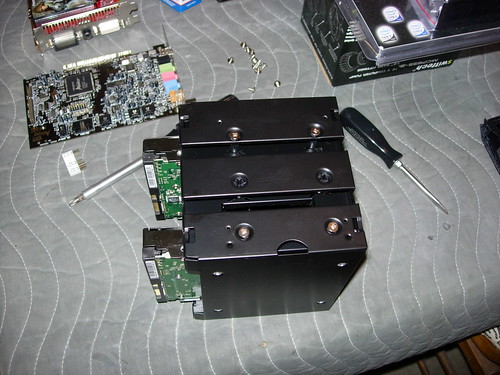
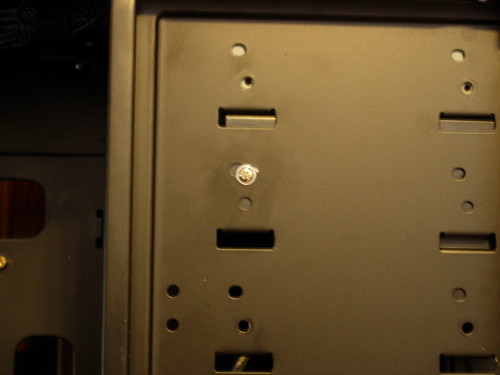
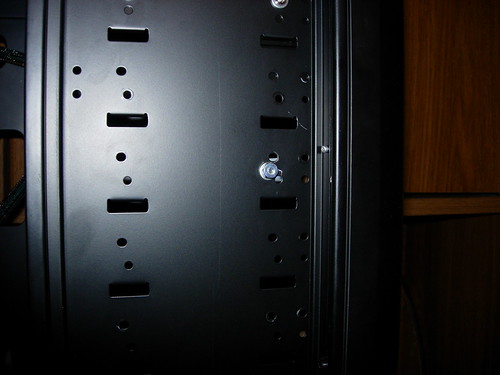
First I started by mounting the hard drives. Unfortunatly I couldn't fit the fan shroud on with the hard drives in place due to some flanges in the front of the HD brackets. I had to mount the HD's first in order to get the hard drive "sled" to fit in the case as it wouldn't after the PSU was installed due to flanges/tracks in the drive bays.
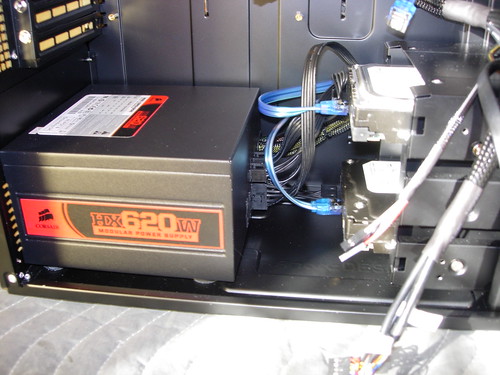
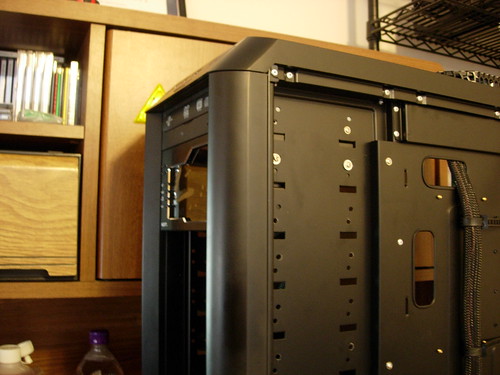
One that was done I installed the PSU and began running the wiring. It's not as clean as I'd have liked due to the small opening left after backspacing the hard drive sled but it's not air restrictive so it should be fine.
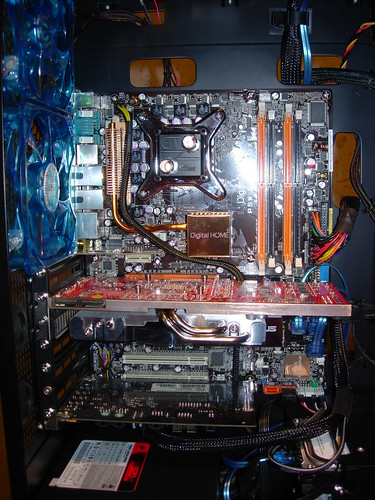
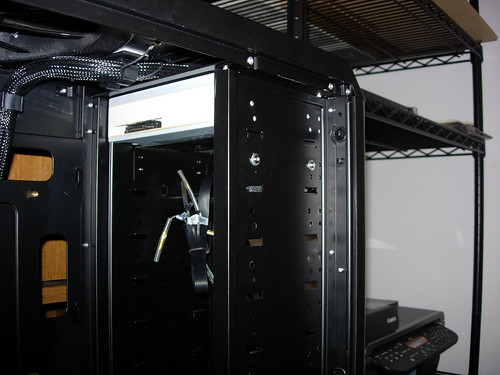
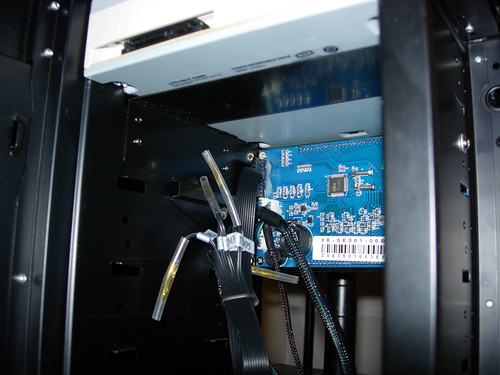
Next up was the motherboard mounting. I was concerned for a second that the board would hit the hard drive sled but fortunatly there was enough gap that everything worked out. There were no closer holes for the USB and motherboard HD Audio connectors so the braided cable was brought right through the middle. The braiding at least gives it a finished look.
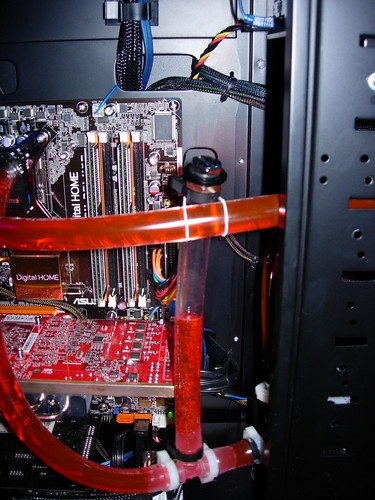
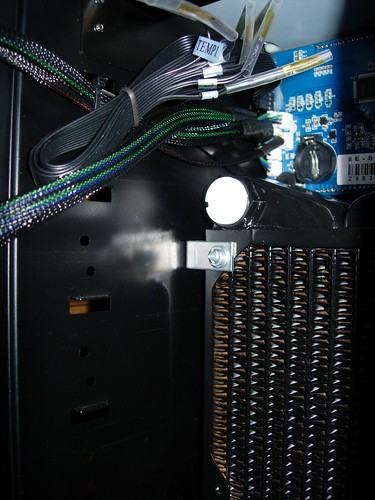
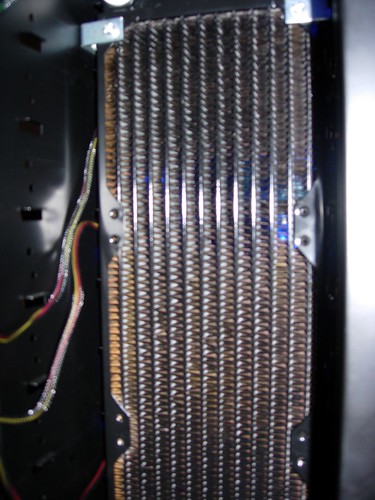
Next up was plumbing the loop. I had originally planned to use the metal hose clamps I bought from Performance PCS but Bio talked me into using the plastic clamps and they've held just fine. I don't have step by step pictures of the loop as I was pretty excited by this point but here's the up close photo's.
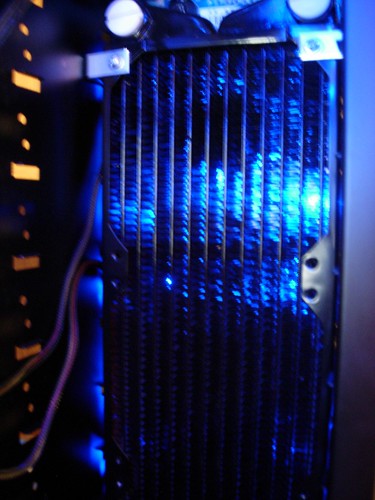
Radiator and Pump
 Waterblock
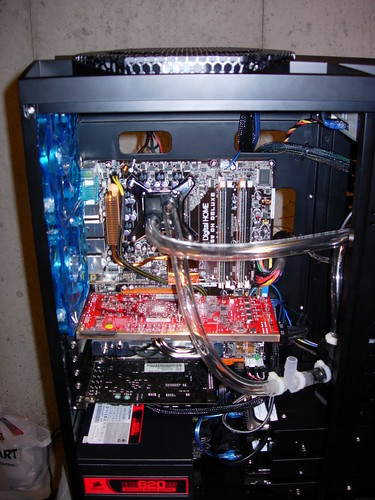
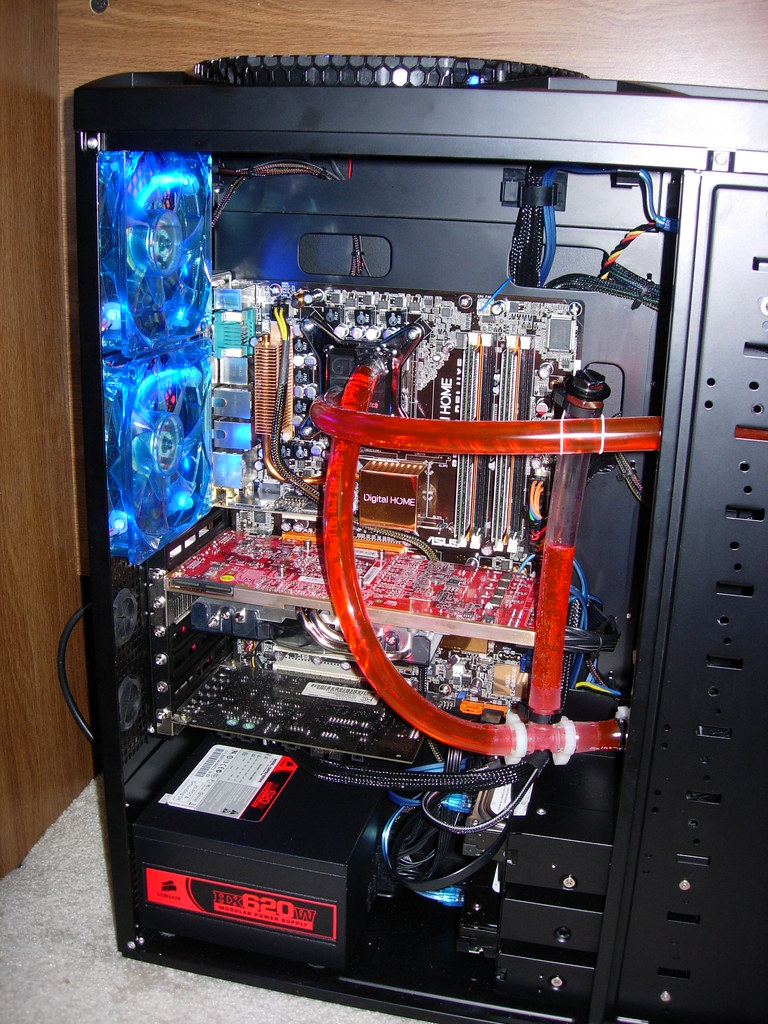
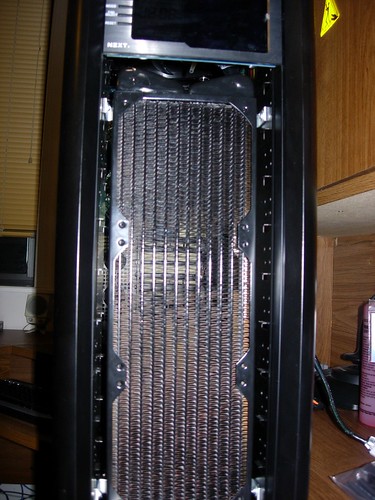
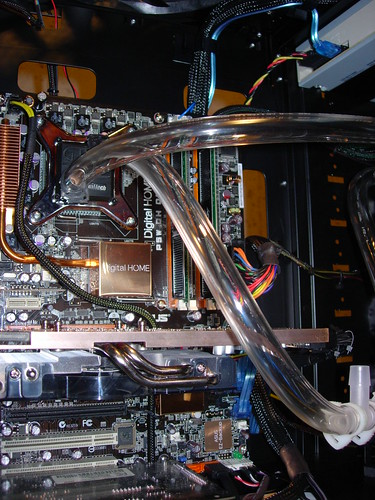 Complete Loop
Last up was to add the fill port and fill the loop. I ended up rubberbanding the T-Line to the loop. I plan to eventually replace the white rubberband with a black one.
And heres a shot of the full loop.
That's it! She's done for now with the exception of adding the CCT's at some point. Thanks go out to Dan and Martian for ideas and Bio for helping with the actual build and being an all around cool guy.


